Tail Waggin’ Christmas Gift
While you’re making your list and checking it twice – don’t forget your four legged family members this Christmas. They love presents too.
Tucker was in need of a new bed. His old bed was so OLD that I threw it out a couple of weeks ago and he’s been sleeping on a towel. He’s not been too happy about that but it beats the cold floor. My plan was to get him a new bed during Black Friday because someone usually has them on sale.
Then the light bulb went off – you know on occasion it does that around here. I said to myself, “Tracey, you have so much fleece around here you need to just make the poor dog his very own bed.” So, I did. My goodness it was so easy.
All you need for this project is:
- two coordinating pieces of fleece (amount of fabric depends on size of dog bed you are making)
- pattern (or free hand your circle) McCall’s M5410
- rotary cutter and/or sharp scissors
- stuffing – fiberfill
- cedar shavings (optional)
I actually had the pattern (probably had it a couple of years now) to make a “No-Sew Pet Bed”. It was McCall’s M5410 . Put it on your list for when Joann’s puts their patterns on sale. You really don’t need a pattern but I can’t draw (much less cut) a straight line – even with a ruler – so I needed the pattern to get a good circle. As you can see, you can make three different sizes. I made the largest one.
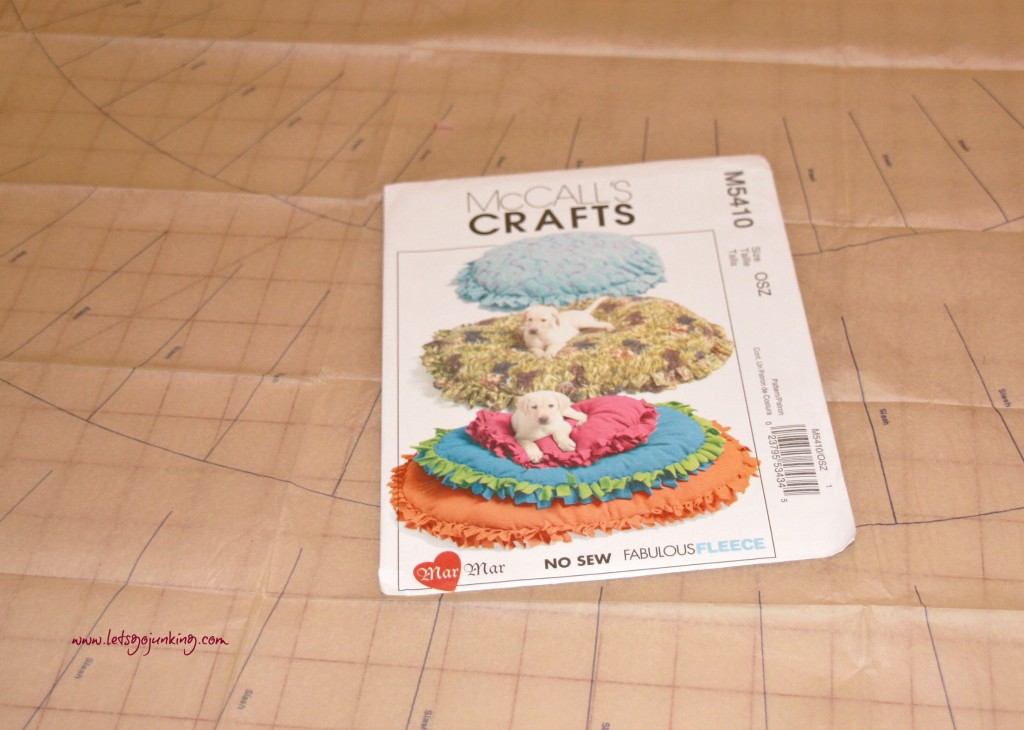
Pattern is placed on the fold and cut the size you want. I used my rotary cutter and I had the circle cut out in a snap. If your cutting instrument is sharp enough, I’m sure you can cut your top and bottom fabric out together but I chose to cut my top fabric (the zebra) and then my bottom fabric (the black).
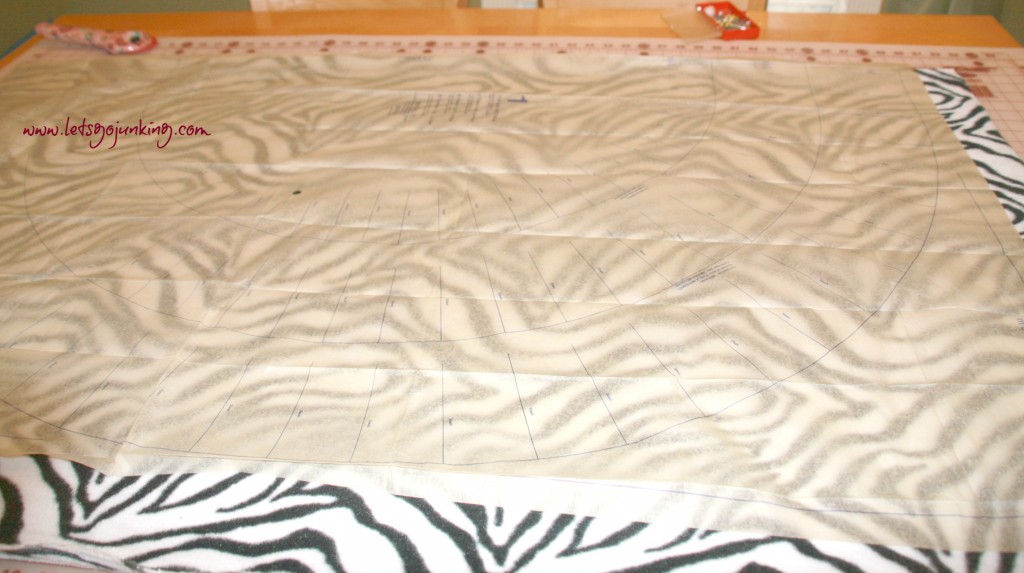
Once your circles (actually half circles) are cut you will need to cut your ties. If you are using the pattern, just follow the cut marks. I used my very sharp scissors for this part. I raised the pattern up just enough to get my scissors under it and followed the cut line. Since the strips are so wide and the fabric was doubled, this part was a snap.
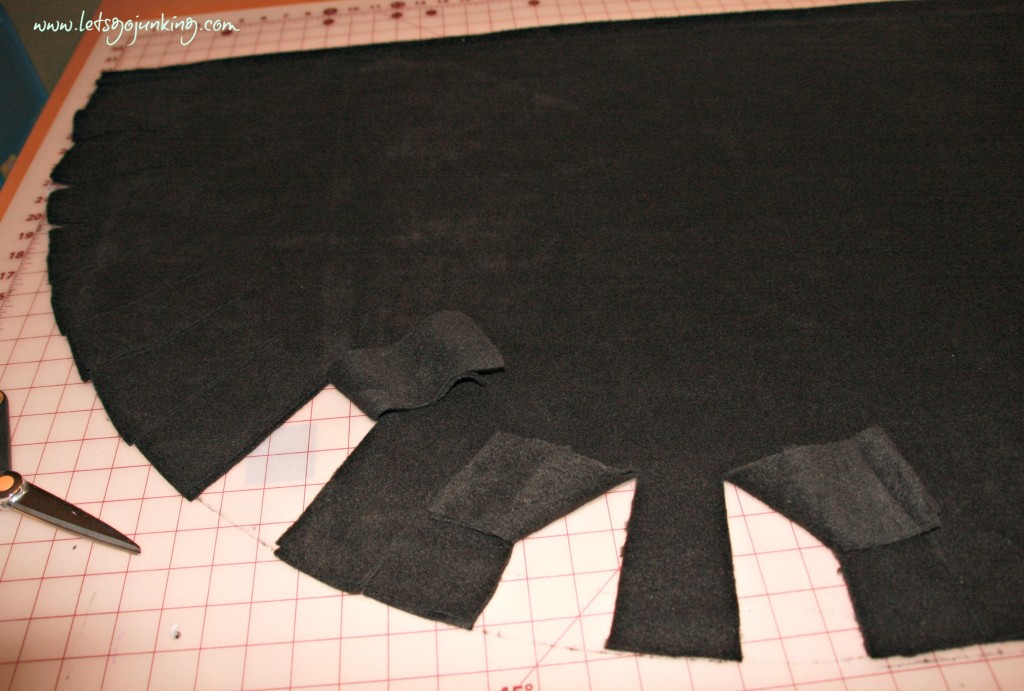
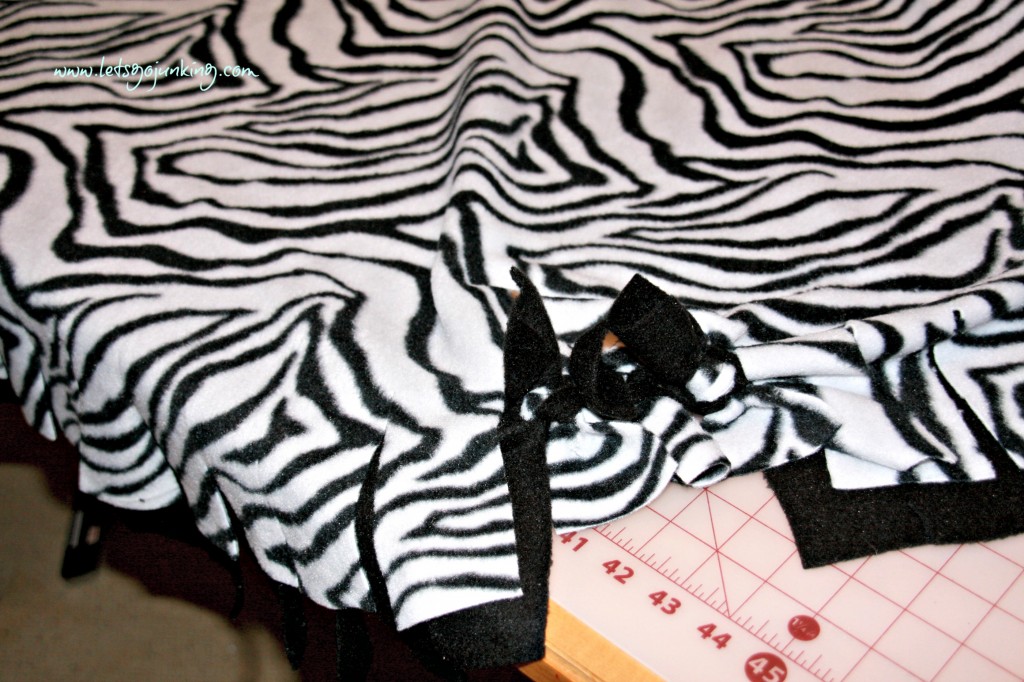
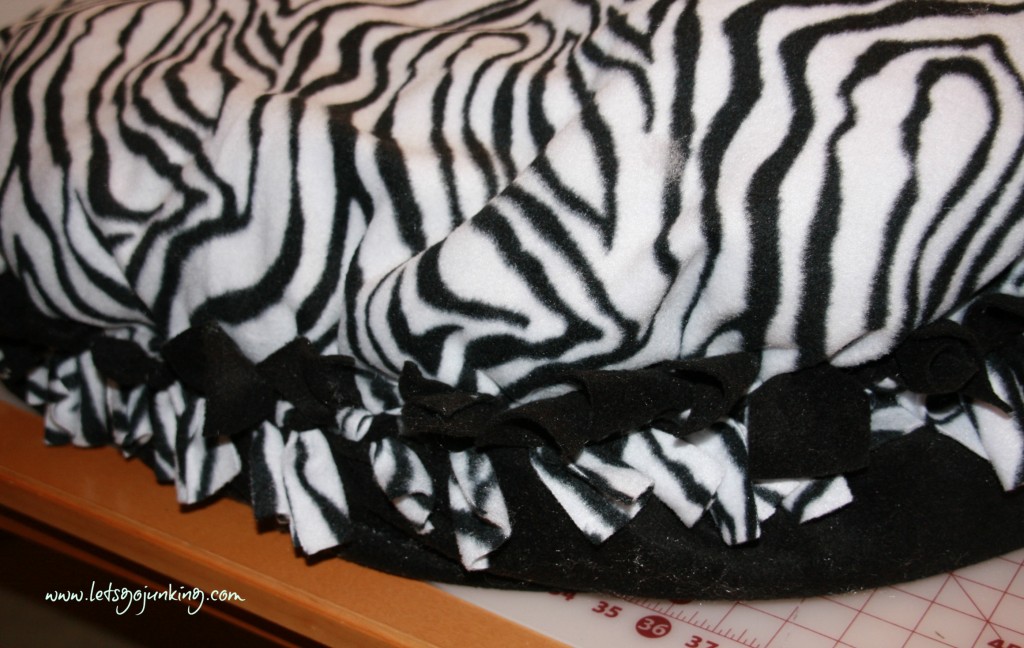
Now that the tie strips are cut, open your fabric up and place your fabric with wrong sides together on top of each other. Align your fabric so that your tie strips are even and start tying. Pick up the top and the bottom ties of each section and use a square knot (left over right – right over left – this lets the contrasting tie ends show). Start at one end and tie to the middle and leave 4 tie strips untied and continue the rest of the way around your bed.
When your ties are done, stuff your best buddy’s new bed. I used Poly-fil. I had a couple of boxes in the closet – imagine that. (I have often been referred to as the Michael’s Closet – like on the old Craft War shows). If you have only used Poly-fil by the bag and never bought Poly-fil by the box this is what happens when you first open it.
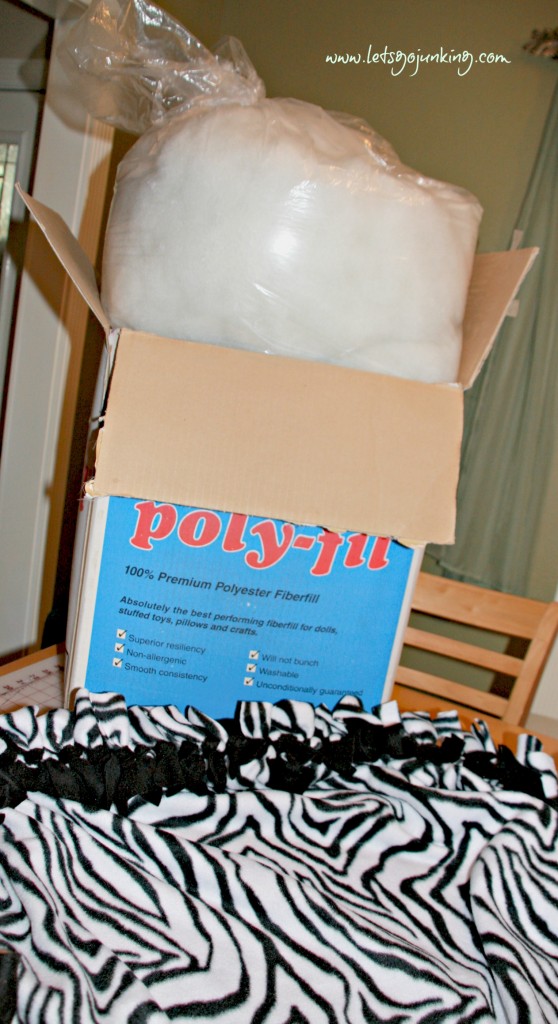
It’s like one of those sea monkeys, that when you add water it starts to expand. So does the Poly-fil in a box. It took less than half of the box to fill my bed. You can add as needed to be comfortable for your dog. Tucker has short legs (like most Corgis) so I couldn’t fill it completely up or he couldn’t get on the bed.
I started stuffing all around the edges of the bed to give it some structure. The secret to stuffing is to pull the filling apart as you are stuffing. If you just grab a handful like this
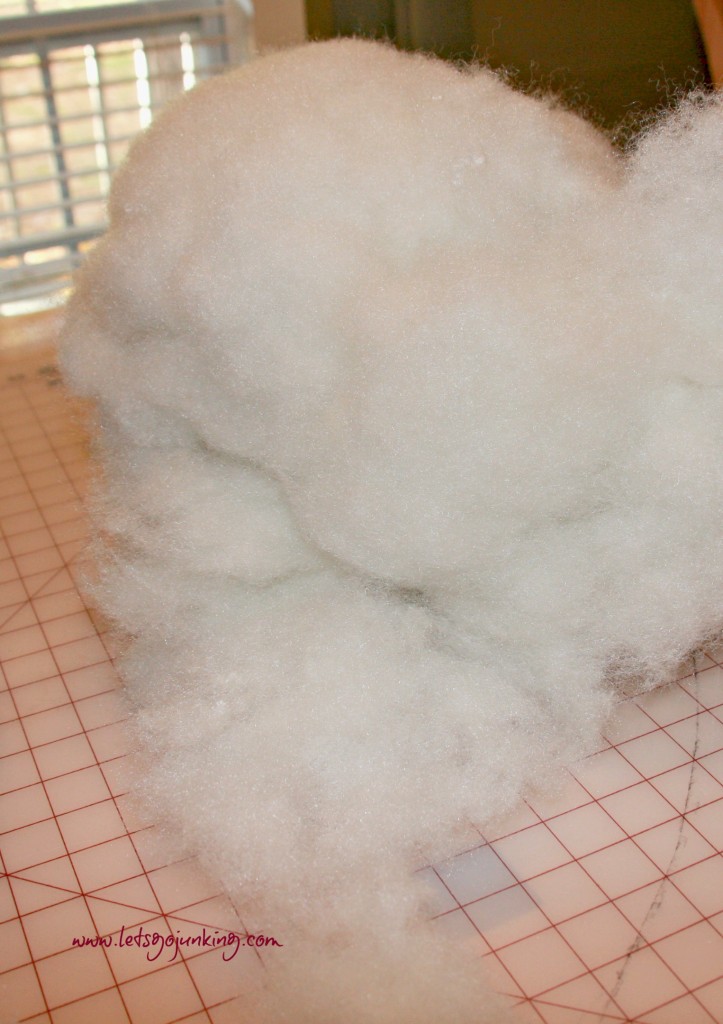
and stuff it in the bed you are going to have ugly lumps. You need to pull that handful apart like this
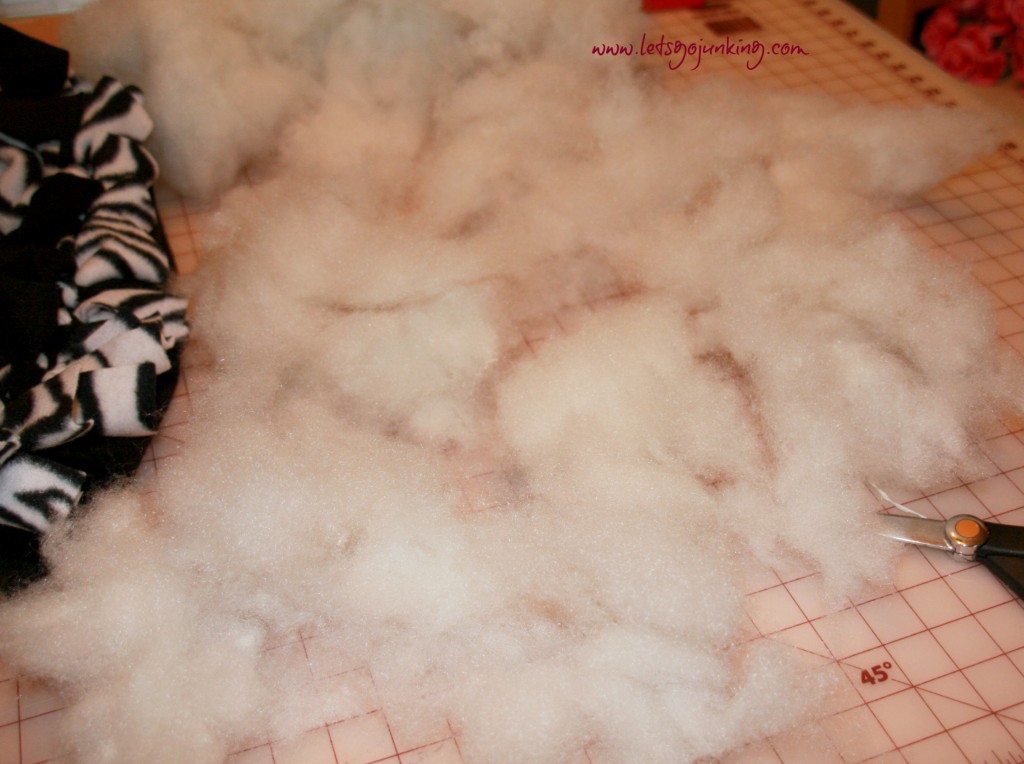
and then put the pieces in. I also added some cedar chips into the bed. Cedar is a natural flea deterrent and makes the bed smell good too. I placed a layer of stuffing along the bottom of the bed and then added about 16 cups of cedar chips on top of that layer and then put more stuffing on top of the cedar.
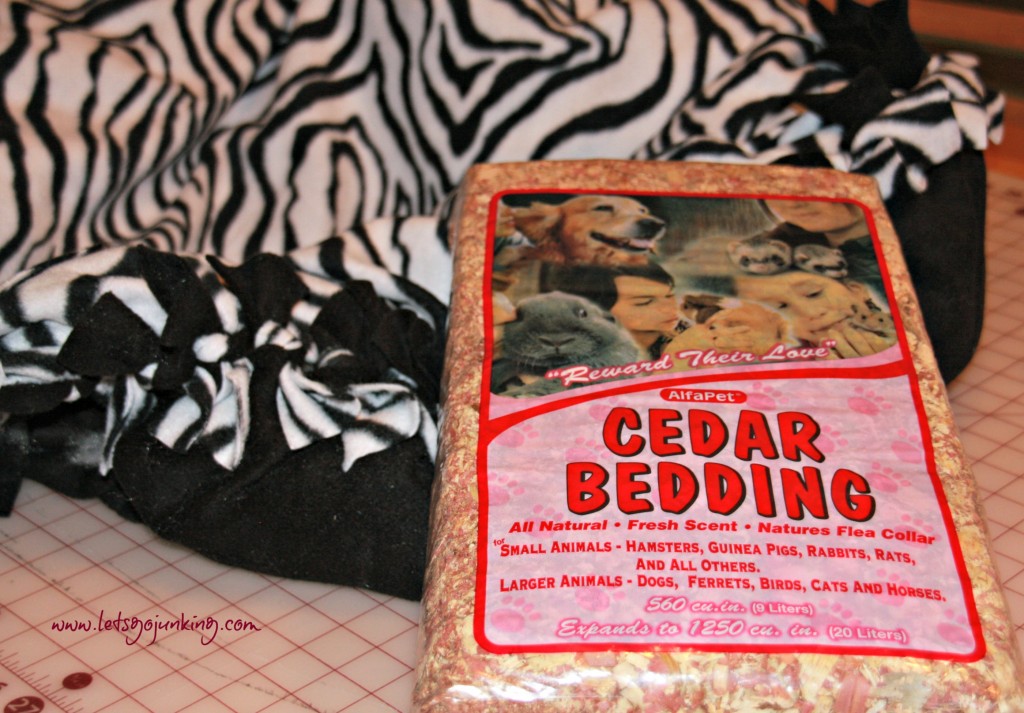
When I had the bed stuffed just as I wanted it, I tied up the remaining ties.
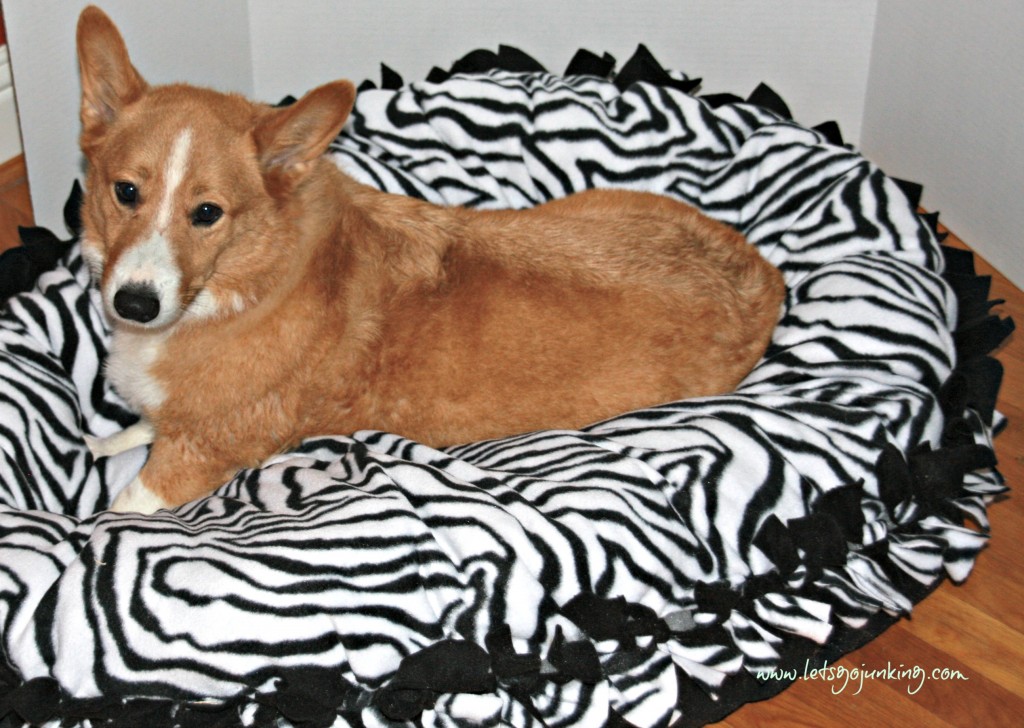
And I had a pretty new bed for my best nub waggin’ friend.
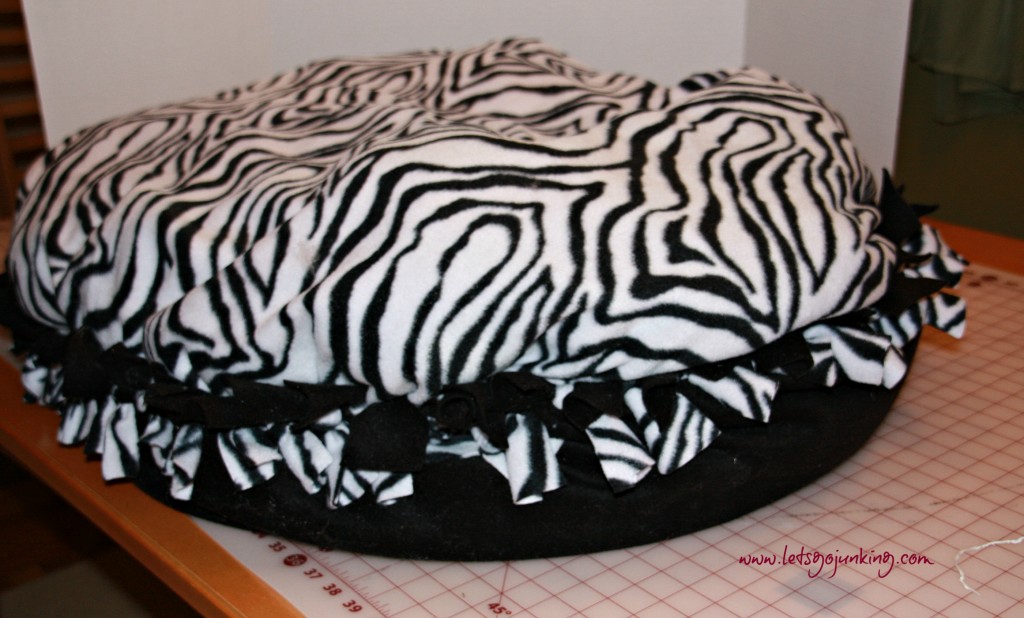
Do you think Tucker loved his new bed?
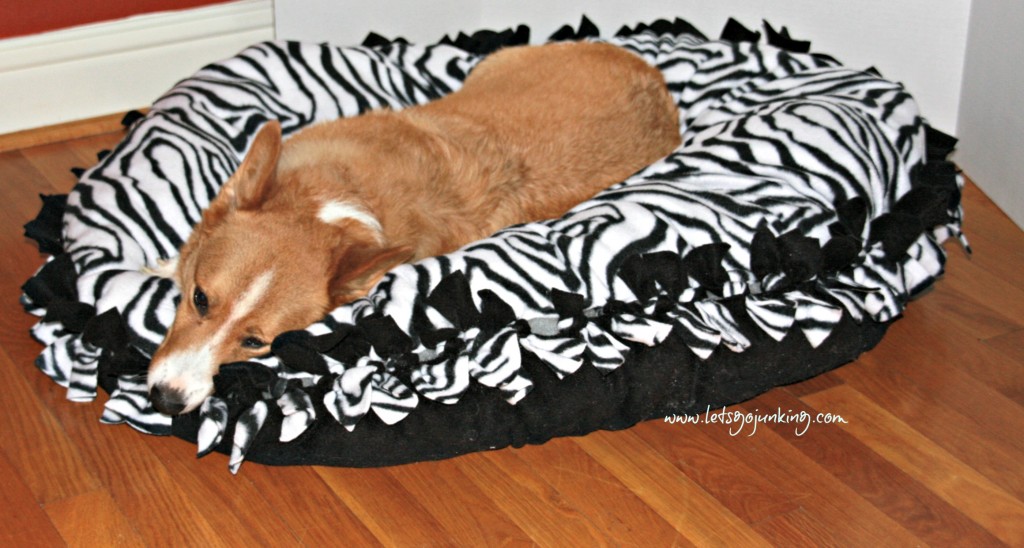
As soon as I laid it on the ground he jumped (yes, jumped) right in the middle of it, turned around twice and then just plopped over.
I just couldn’t take it away from him to wrap it up for under the tree. He loved it way too much. I guess, I’ll just have to get him something else for Christmas. He has never said no to a doggie treat.
Please Share




love this idea! So clever – pinned to give this a go when I get a minute! 😉
Tucker looks happy.! Great job!
He LOVES his new bed. When I can’t find him, I just go in our bedroom and he’s asleep in his bed. You need to make Roxi a smaller version. If she got on Tucker’s, we’d never find her again!
Such a cute idea!
Awww Tucker looks so happy and content. What a great project for a “best friend”. 🙂
Oh my goodness, so awesome. My puppies would totally love this!
So cute! And easy too!
No sew? No way. Tucker is one lucky pooch! McCoy would love a bed like this and I also need to make one for our new cat, Felix.