Go Green Tool Caddy
I’m sure you know by now that I love my Ryobi Power Tools. They come in handy for so many projects – including Christmas gifts.
The grandsons have their own craft tools here at Grandma’s house. We recycled some cans and put cute robots and monster paper on them and we then had homes for their markers and paint brushes. The cans were cute and handy but when it came time to work on projects we were having to make multiple trips from the shelves to the craft table to get all our supplies together.
Grandma to the rescue!
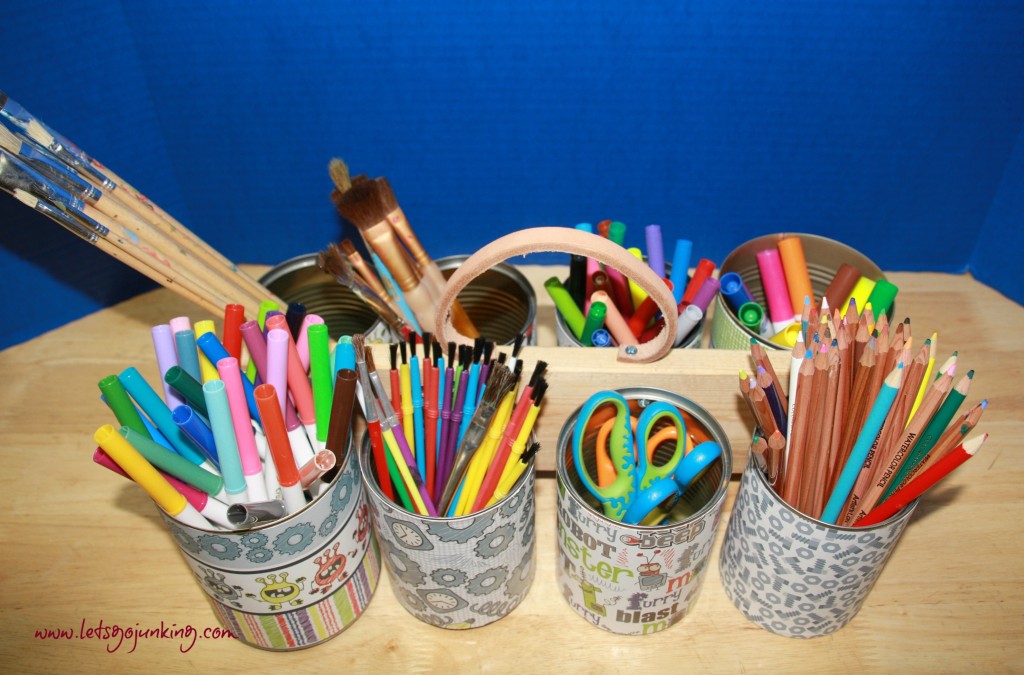
Everything I used in this project was recycled (except the screws).
First, gather up your materials and your Ryobi Power Tools.
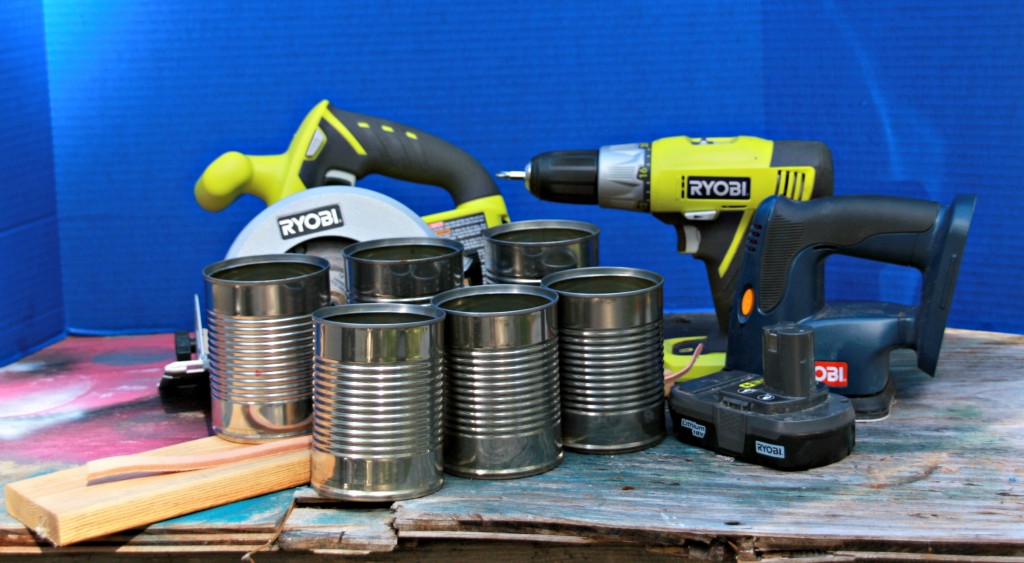
Tools:
Ryobi Circular Saw
Ryobi Drill
Ryobi Drill Bit
Ryobi Corner Cat Sander
Materials:
Recycled Cans (Size and Quantity will vary with your needs and the types of cans you have available)
Lumber for body
Leather for handle
Screws ( I used 1/2″ wood screws for this project)
I have lots of scrap lumber sitting around. This spring I picked up a big stack of 1X4s off the side of the road while visiting my sister-in-law in the Ft. Worth area. I have been using these 1X4s for signs and other projects and one of these 1X4s was the perfect size for this Christmas Gift Project.
We save cans around here. My husband (who is the dishwasher in the family – he says that I can’t properly load the dishwasher and I agree, I can’t. So I cook and he cleans), has washed many a soup or vegetable can. The secret to repurposing cans is to use a can opener that does not leave sharp edges. I recommend a Pampered Chef Smooth Edge Opener.
My brother does leatherwork so I always have some leather scraps around. You can also use an old belt or purse straps. You just want to make sure that whatever you use allows the handle to stick up.
Let’s Get Started:
Decide on the size of cans you want to use and how many you need. Place these out so you can determine the length of board needed. I knew that I wanted to use the two big cans (I believe these once housed crushed tomatoes) that we had already decorated. These were my “anchors” on my tool caddy by putting one on either end and opposite sides. I placed my cans and marked my board for the cut.
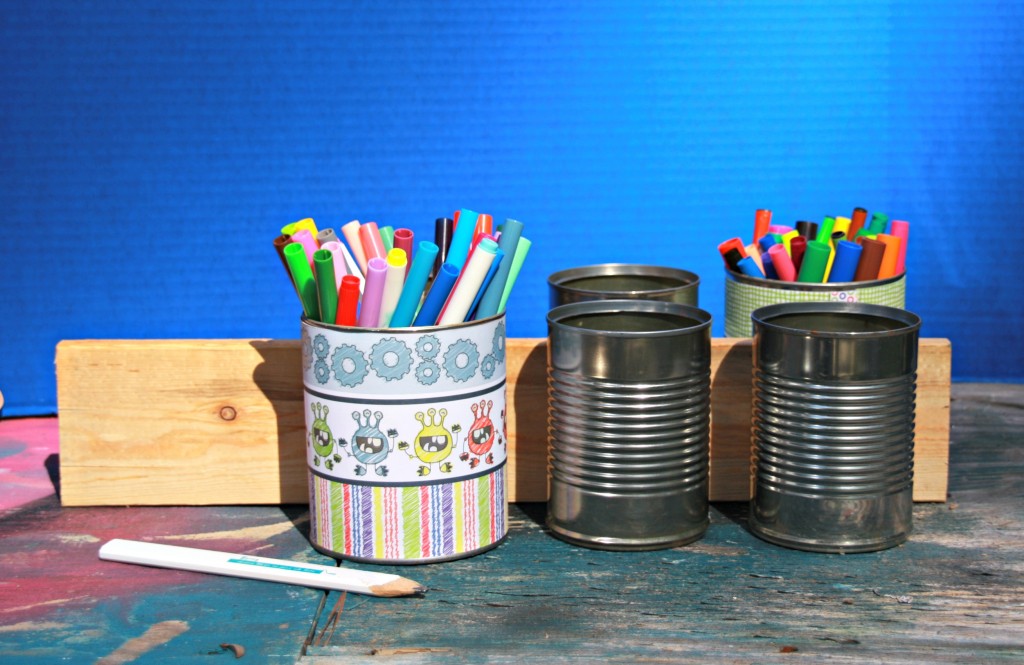
After I used the Ryobi Circular Saw to make my cut, I wanted to make sure there were no splinters for little fingers to find so I used my Ryobi Corner Cat Sander to sand the entire board smooth.
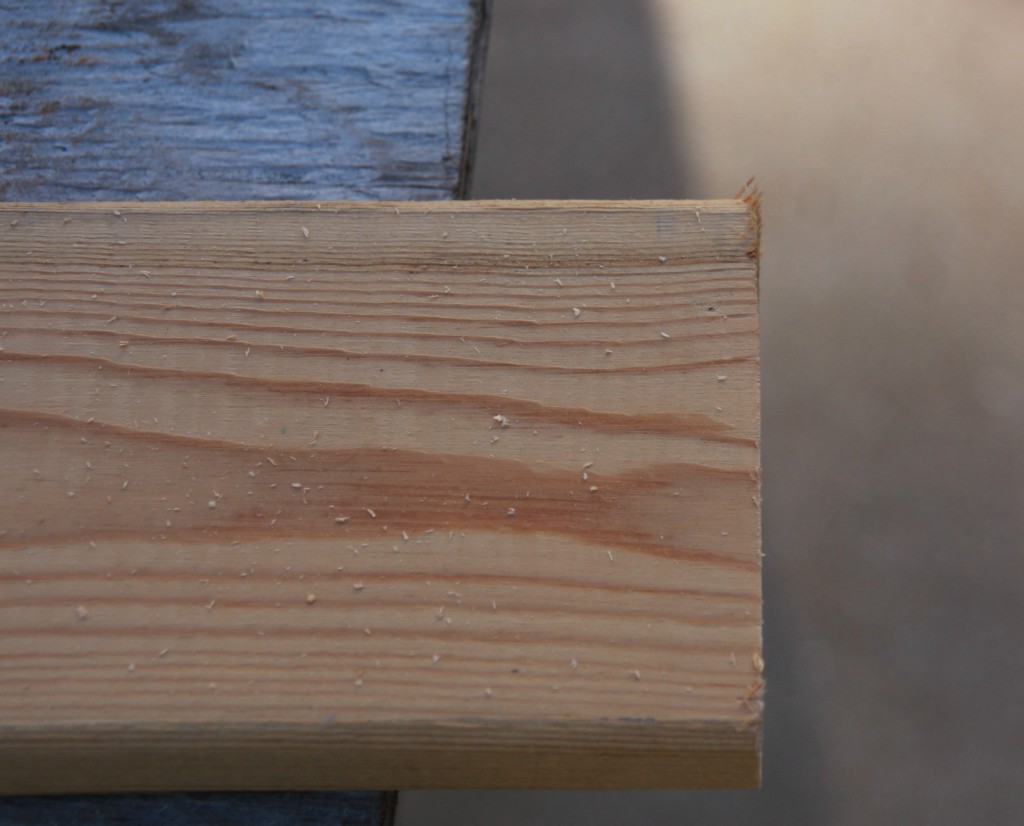
If you don’t have a Corner Cat Sander you can learn more about this wonderful little tool here on the blog. This is a must have for any power tool bag!
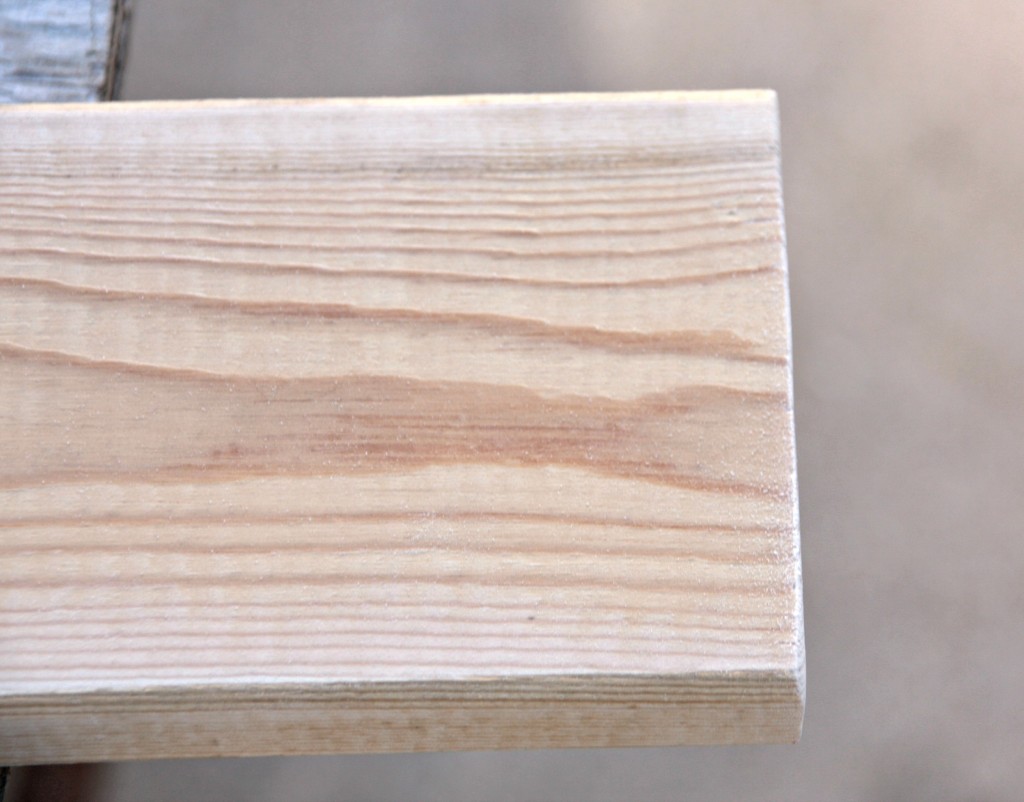
Now that my board is all smooth, I could have elected to stain or paint it. Since it was going to be used by little boys in the craft room, I figured that it would end up being “painted” along the way in many different colors and styles (if you know what I mean). I decided we would just go all natural on our board.
Decision time about your cans. Do you want to leave them “natural”? You can paint them or cover them in paper or fabric or trim. This part is completely up to you. Think about the recipient of this gift you are creating just for them. I’m going to make another one of these for my sister-in-law. (She’s probably reading this now and she’s going to know what one of her Christmas presents are – Oh well, that’s what happens when you share your life on a blog). Anyway, she loves to work in the yard. I’m using bigger cans for her tool caddy and I will probably just paint the cans so that they can be easily cleaned and be able to handle the great outdoors.
This gift is for two little boys to store and carry their craft tools. Robots and Monsters are right up their alley (along with ALL Super Heros). I used paper from Recollections Signature Especial – Monsters and Robots.
If you have never covered a can before, it is really simple. Measure the area you want the paper to cover. I cover from under the lip to the bottom of the can. Cut your paper and use double sided tape. I cover both ends of the short side of the paper (top to bottom) with one strip of tape and then place a couple more long strips diagonally along the long side of the paper to add a little more security. Carefully follow the top edge and keep the paper straight as you are adhering the paper to the can.
After all your cans are covered. You will need to get out your Ryobi Drill and a 1/16th drill bit.
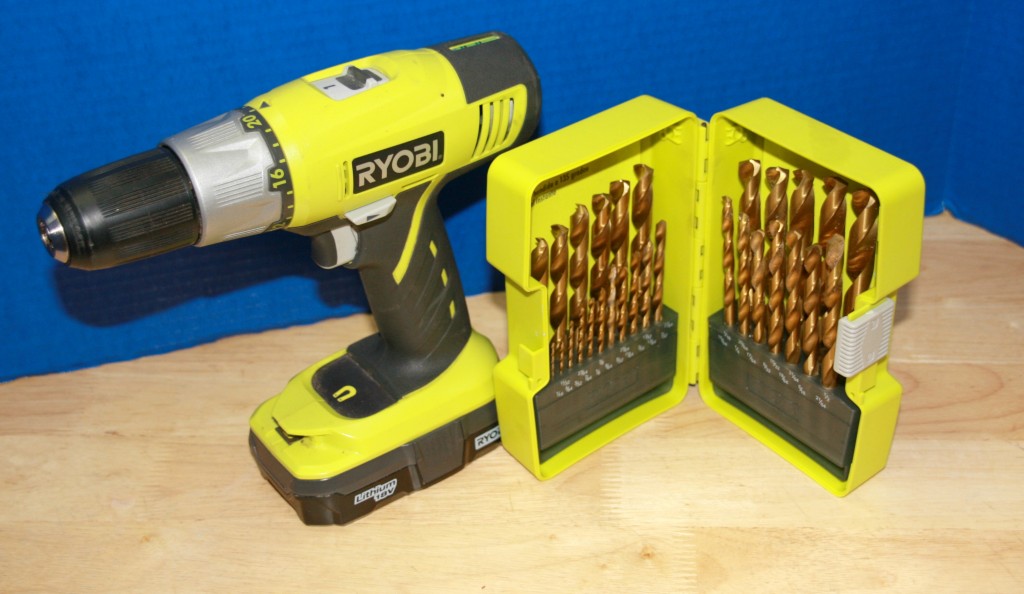
You want to predrill the holes in your cans. If your cans are different heights, you will need to mark where you plan to screw each can to the boards. What gives this caddy its stability is that ALL the cans sit evenly on the ground. The board does not sit on the ground with the cans hanging off the board. With this caddy, the cans sit on the ground and the board hangs off the cans.
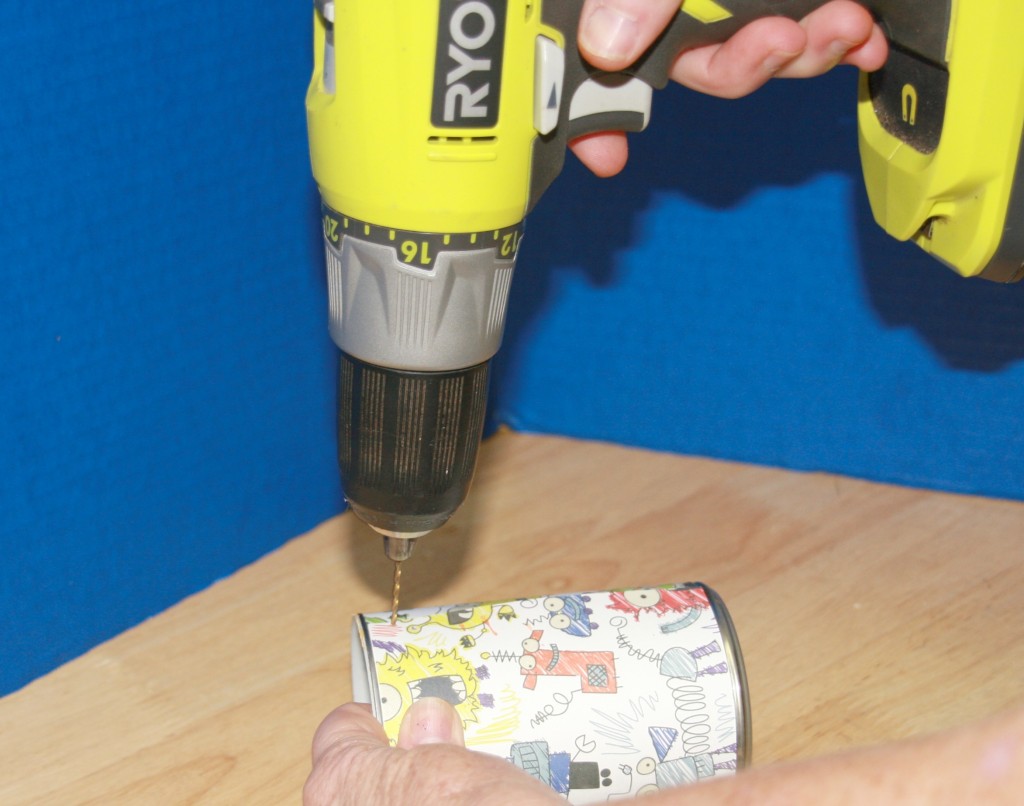
Predrill from the outside of the can. DO NOT skip this step. Predrilling the holes makes this project a snap to finish.
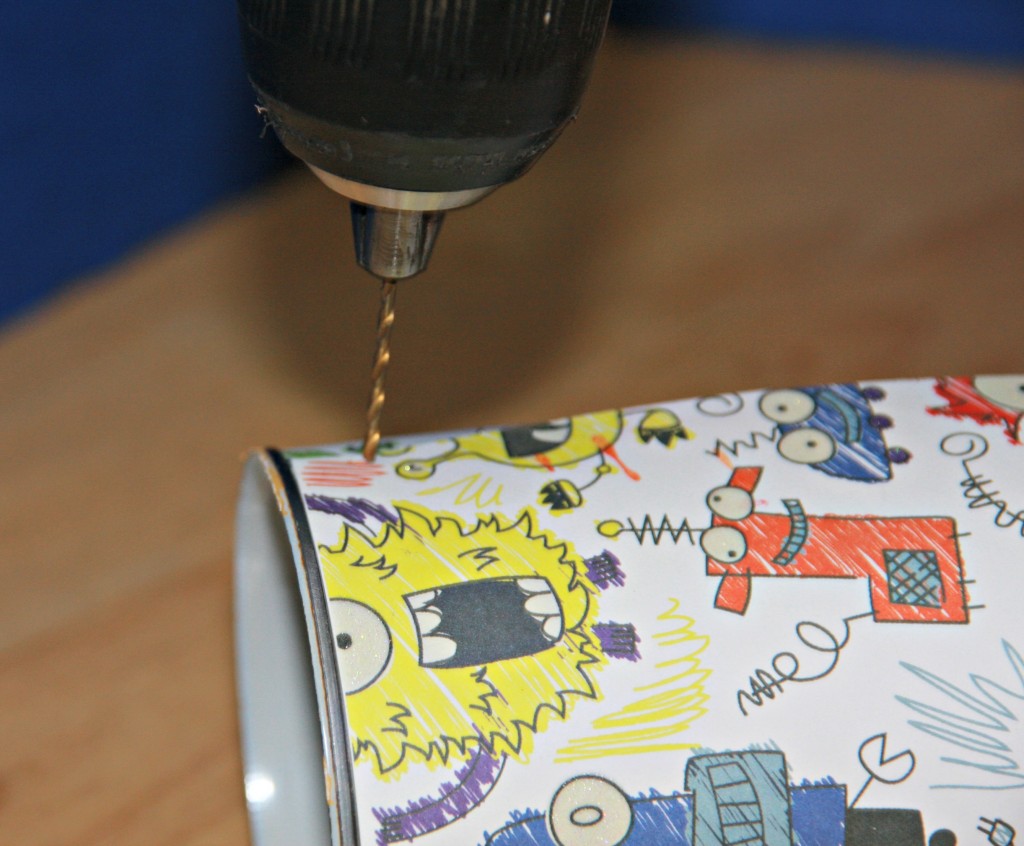
Take all your predrilled and embellished cans, your board, screws and a level to a flat and level surface. Attach your first “anchor can” so that the bottom of the can is level on your flat surface.
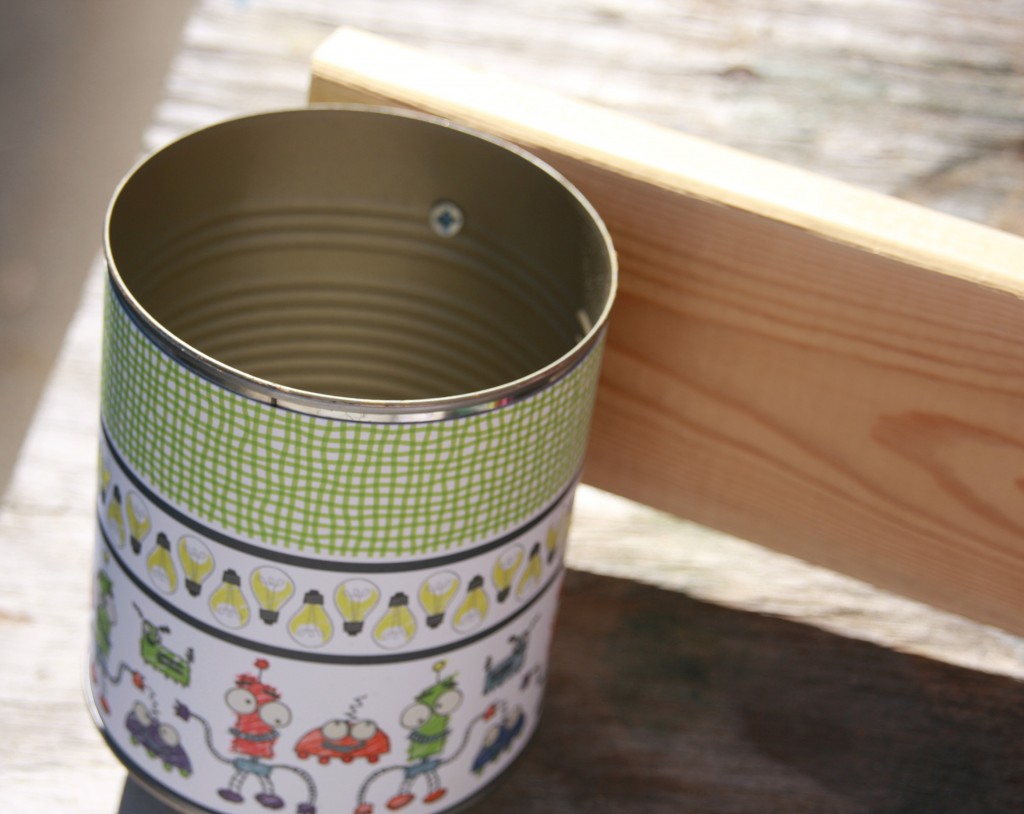
Attach your second “anchor can” on the other side again, making sure is it level on your flat surface and the board is level across the top – Use your level!
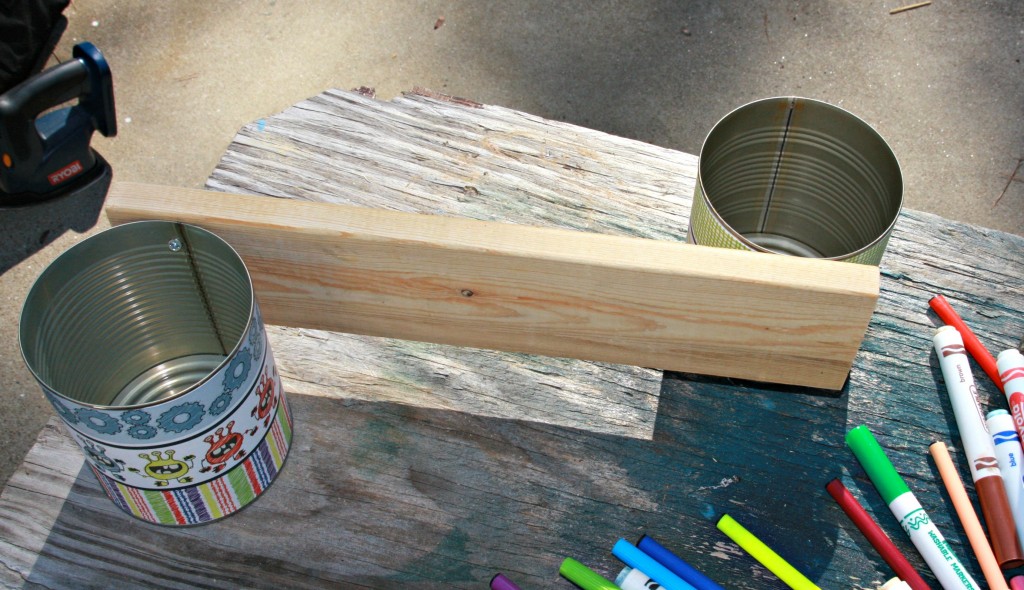
Attach the remainder of your cans in the configuration you had measured your board for.
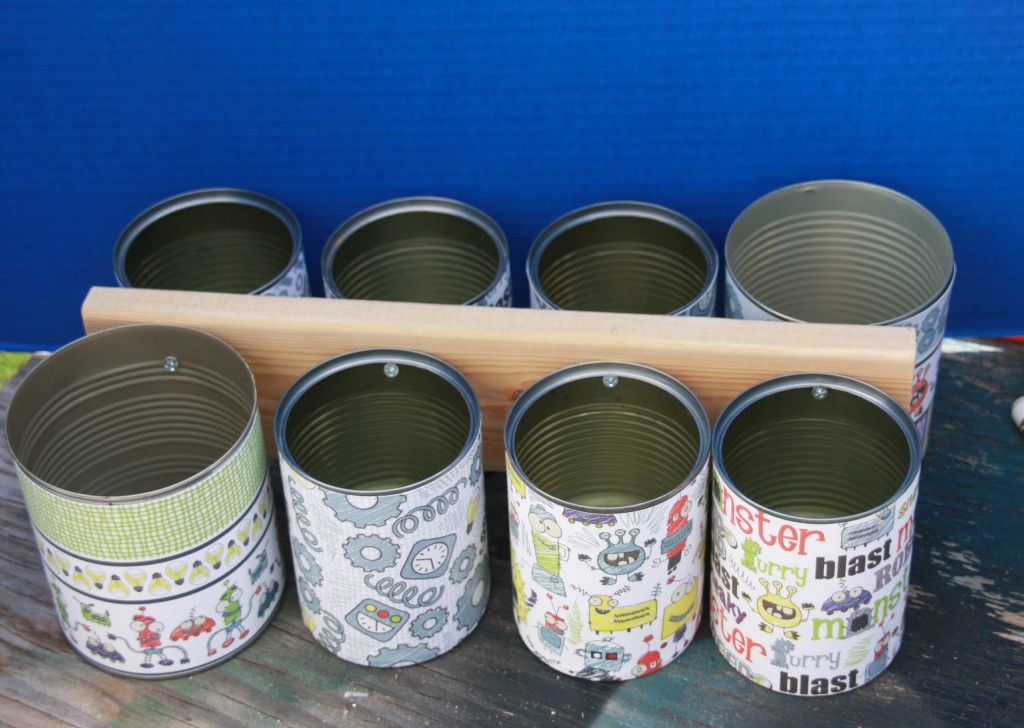
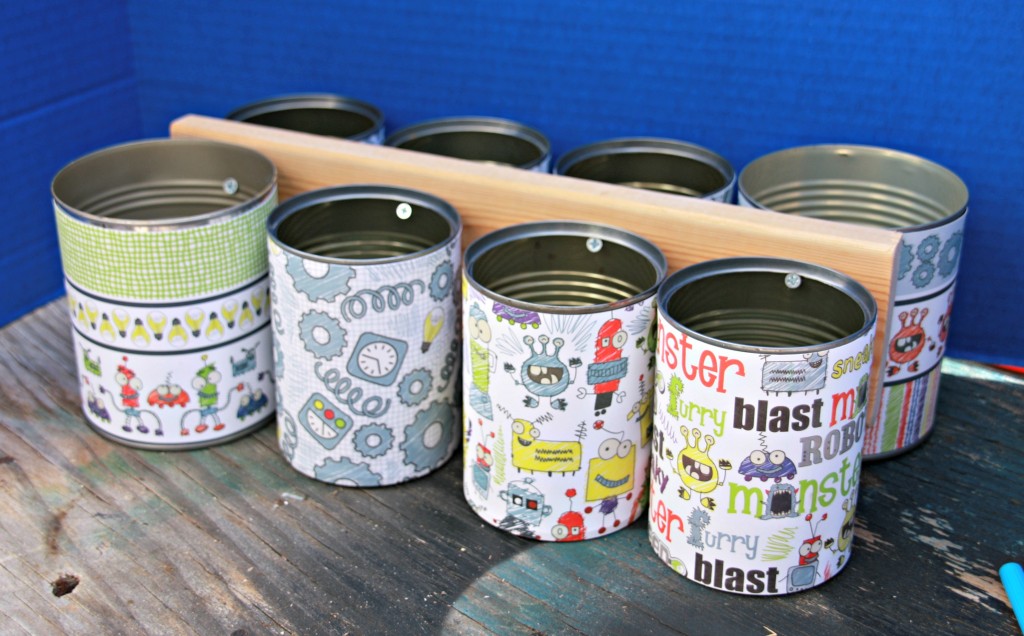
Last step is to attach your leather handle. Mark your board so that the center of your handle is in the center of your board and attach with screws.
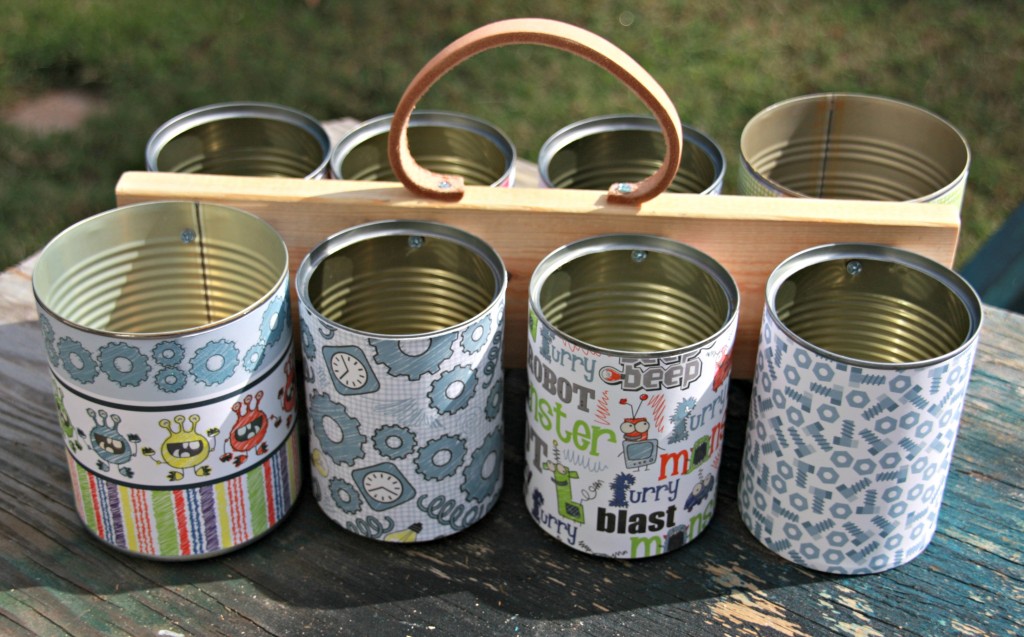
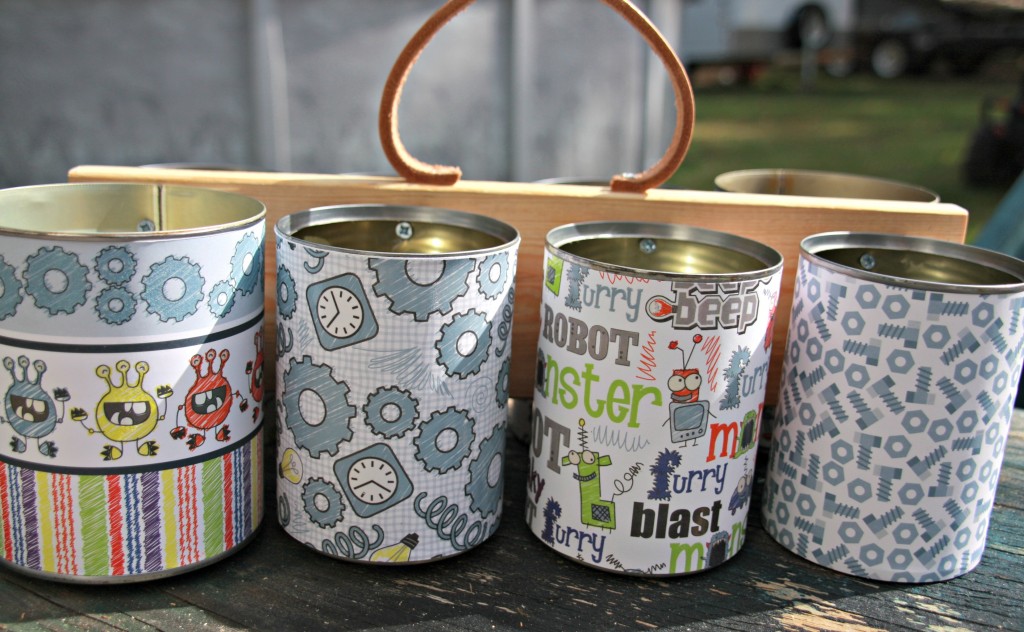
You can present your handmade from recycled items gift empty OR to make your gift even more special, fill the cans with the tools the recipient would need.

Wrap it or just put a bow on it. I think it is pretty enough that it shouldn’t even be wrapped.
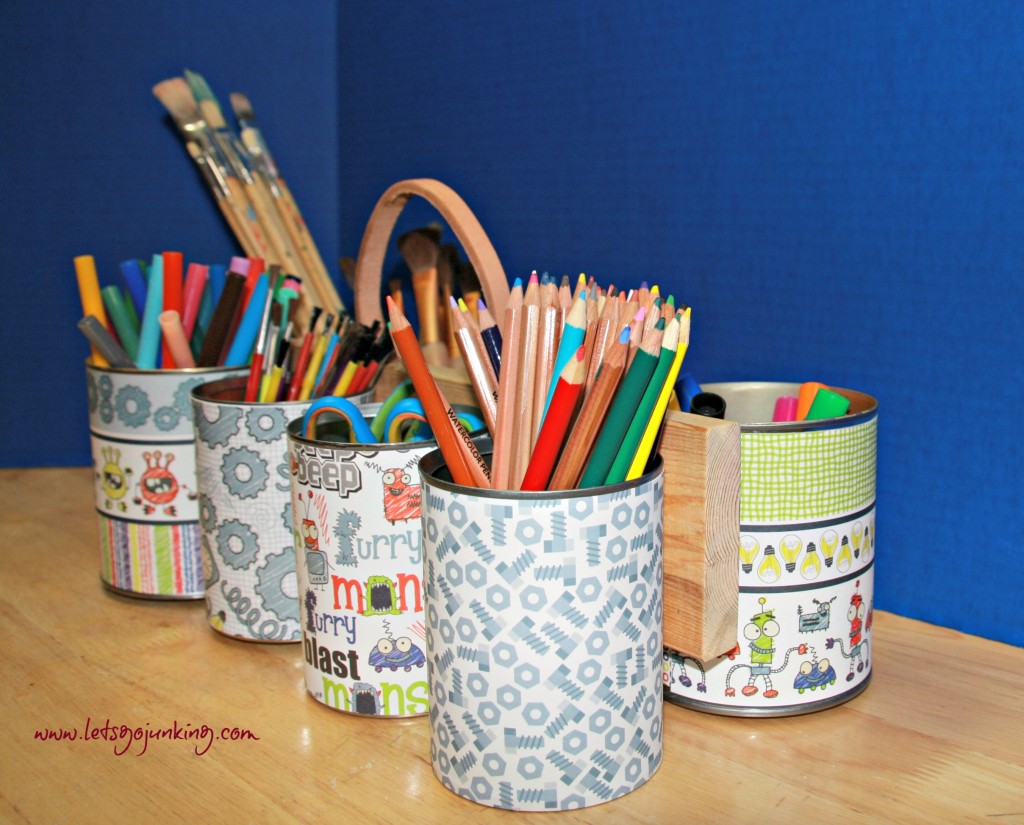
Anyone who receives this gift will be thankful for a friend like you. Someone who knows what they really are passionate about and what they need to achieve that passion AND someone who is making Christmas green!
Get out that Christmas list and really think about everyone on it and what it is that makes them smile – what their favorite hobby is or where do they spend most of their time and just what tools you can provide in their new tool caddy to make that easier for them. THEN drag out those recycled cans and your Ryobi Power Tools and get busy!
A few of my blogger friends got together and came up with a few more easy build Christmas ideas.
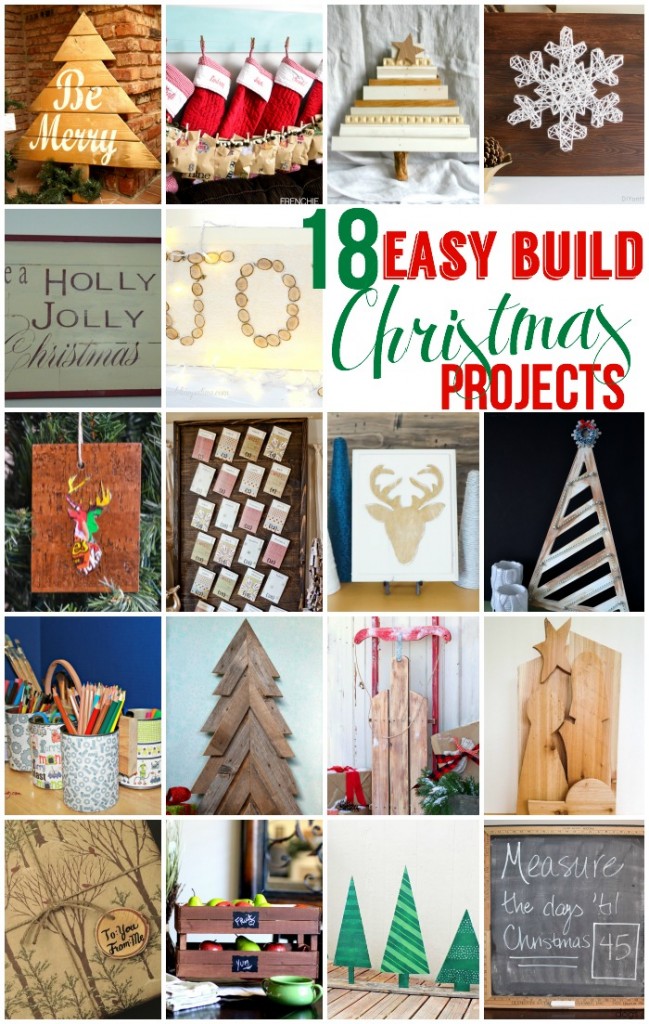
Find out how all these wonderful things were built, using Ryobi Power Tools of course.
DIY Vintage Sled Pattern– Fynes Designs
Wood gift tag– Being Spiffy
Rustic scrap wood Christmas tree– Dukes and Duchesses
Snowflake String Art– DIY on the Cheap
Silhouette Stand Nativity– My Day Lights
Instagram stocking holders– Frenchie Wraps
Wooden sign– Poofy Cheeks
Repurposed Gift Carry All- Let’s Go Junking
Rustic Christmas Tree Decoration-Her Tool Belt
PB Inspired Wall Art– Create and Babble
Woodland Reindeer Ornaments-Whats UR Homestory
Advent calendar– Carissa Miss
DIY Stackable Slatted Fruit Crates– Pink When
Joy wood slice sign– Dandelion Patina
Gold Reindeer Décor– Simply Designing
Wooden Christmas Tree Display– Lauras Crafty Life
Pallet Wood Christmas Tree– Roubinek Reality
Christmas countdown chalkboard- Dogs Don’t Eat Pizza
Please Share



Super cute project! That sander is one thing that isn’t in my tool bag yet! I should definitely make one of these for my kiddos craft station, thanks for the tutorial
Man, I need to organize like you!
If you only saw the rest of the craft room…………….
such a great idea & so handy too! Love it
laura @eye candy creative studio recently posted…SHOPPING :: for Christmas Cards
Thanks Laura. The boys are already carrying it around the house. It is really hard to tip over – even when they are carrying.
What a fun gift idea! Very cute.
Thanks Erin.
What a great idea for the boys!
lindsay @ Frenchie recently posted…DIY Stocking Holder with RYOBI
They will enjoy it and so will you!
Great upcycle! and that leather handle is so cool.
April @ illistyle recently posted…My picks from the new TOMS for Target line
What a great project! Super upcycling idea!
Karen @ Dogs Don’t Eat Pizza recently posted…Christmas Countdown Chalkboard
Super cute! You’ve been a busy lady!
Such a great DIY gift idea! I love this — might have to make one for my nephew!
Cori recently posted…Guest Bathroom Makeover Reveal!