Rustic Square Pumpkins
Are you a fan of perfect pumpkins or do you like the rough looking and not so round pumpkins? Personally, I like the pumpkins that look just a little different. With this thought, I decided I wanted some square pumpkins on my porch and mantel.
I dug around in the barn and found a bundle of left over spindles from the deck we built a couple of years ago.
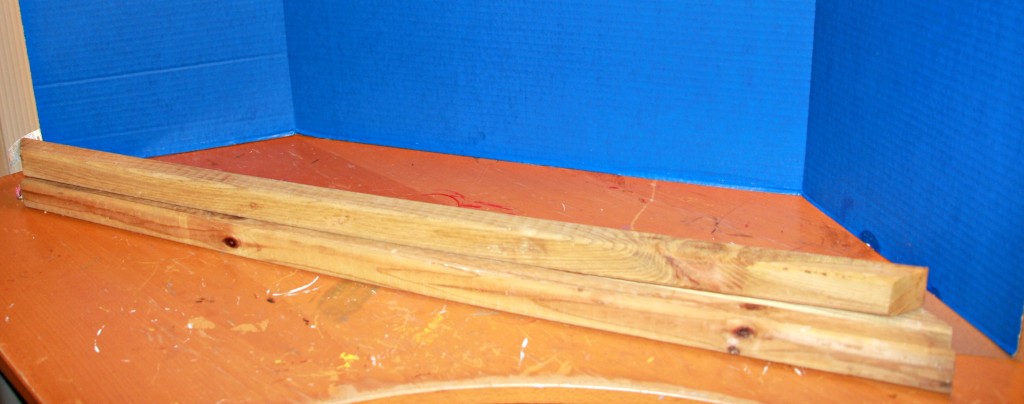
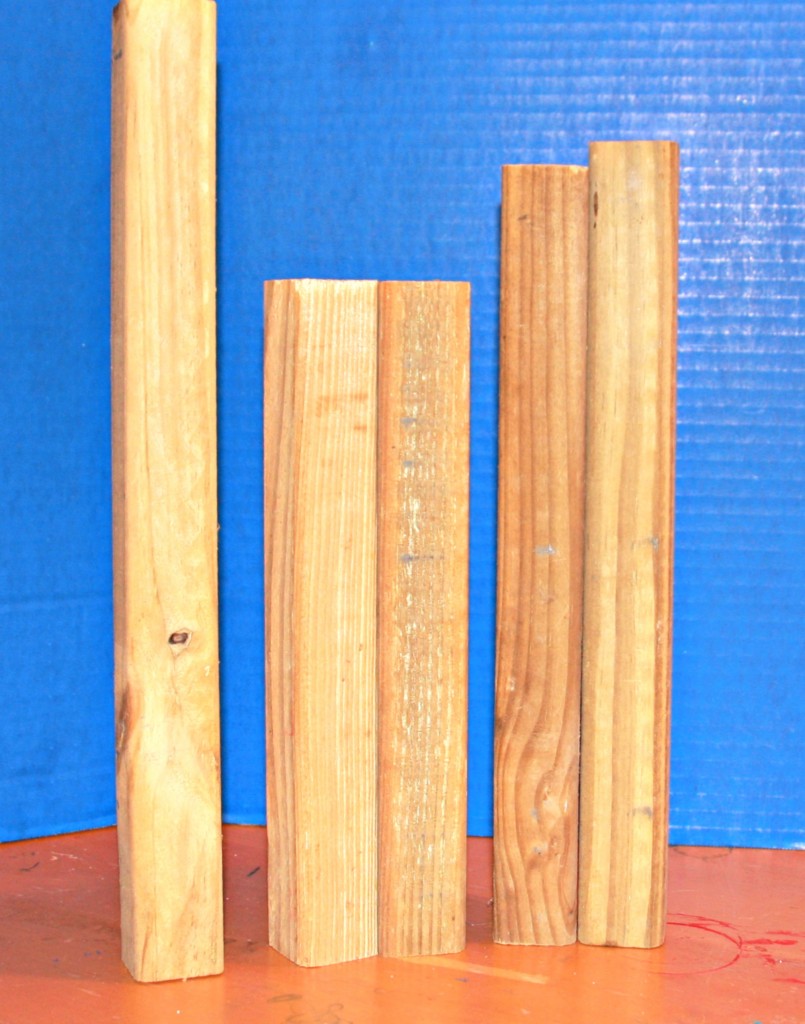
I wanted three different sizes. My new square pumpkins were going to be 10″, 12″ and 14″ at their tallest point (which would be the center and this includes the stem). The sides of the pumpkin would be 2″ shorter than the center stick.
To create the largest pumpkin, I cut a 14″ piece, two 12″ pieces and two 10″ pieces.
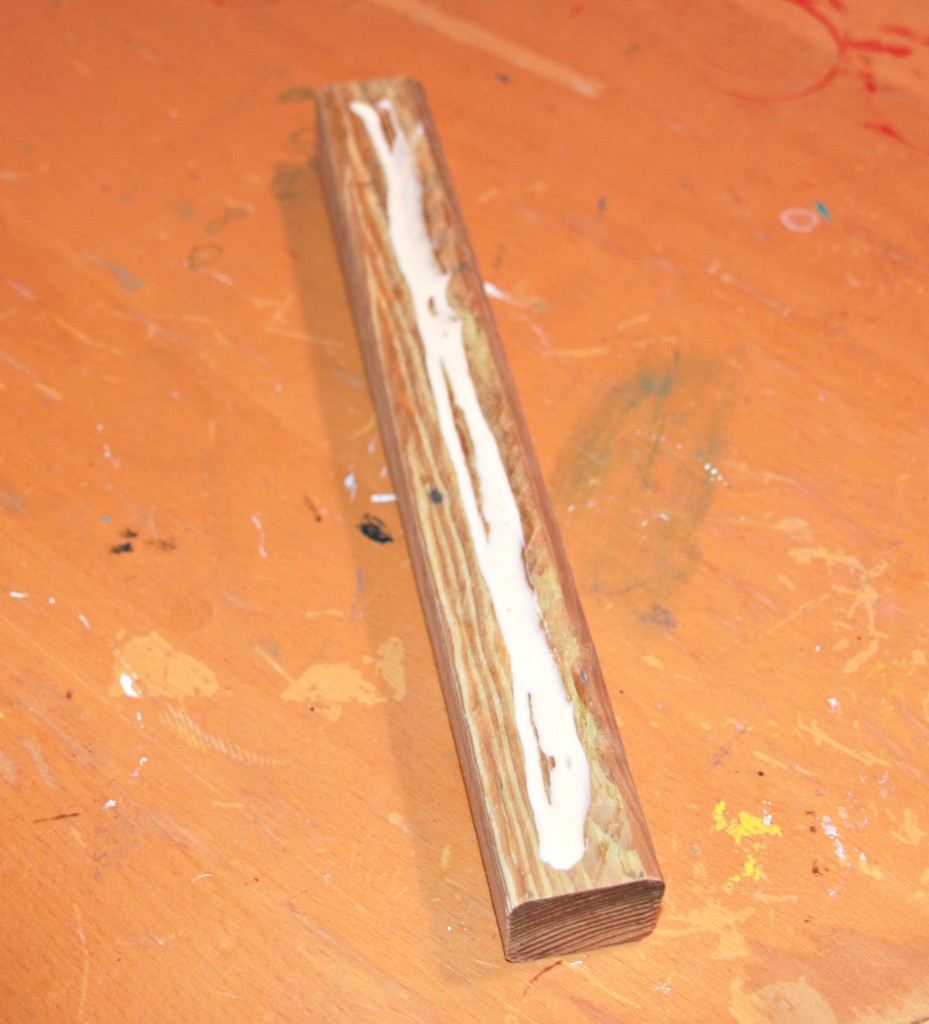
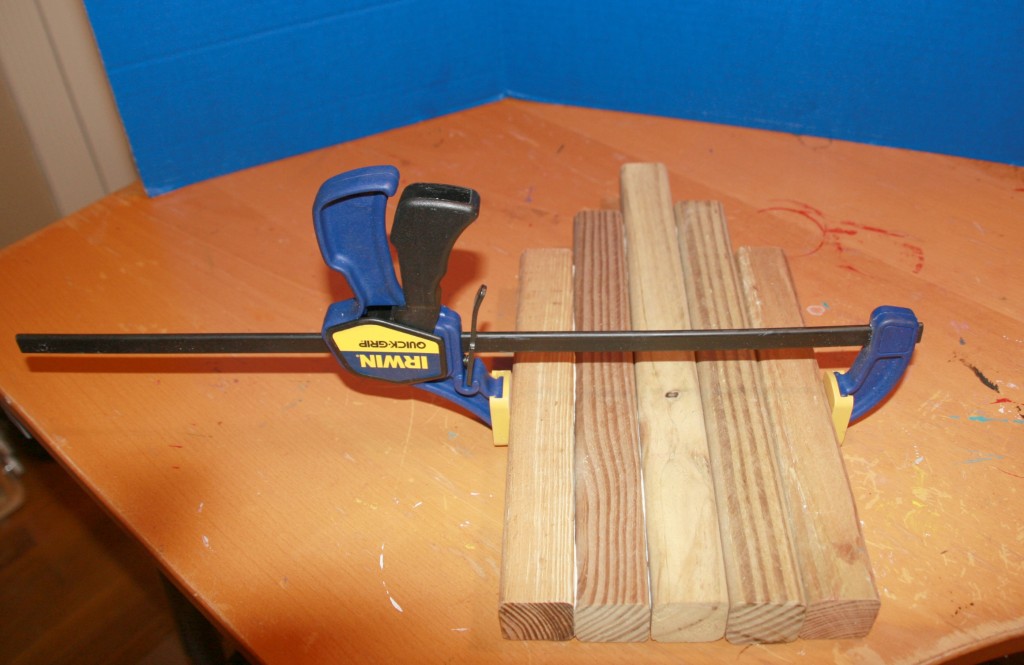
Using wood glue, fasten all the pieces together.
Make sure that the bottoms are even so that the pumpkins can stand on their own.
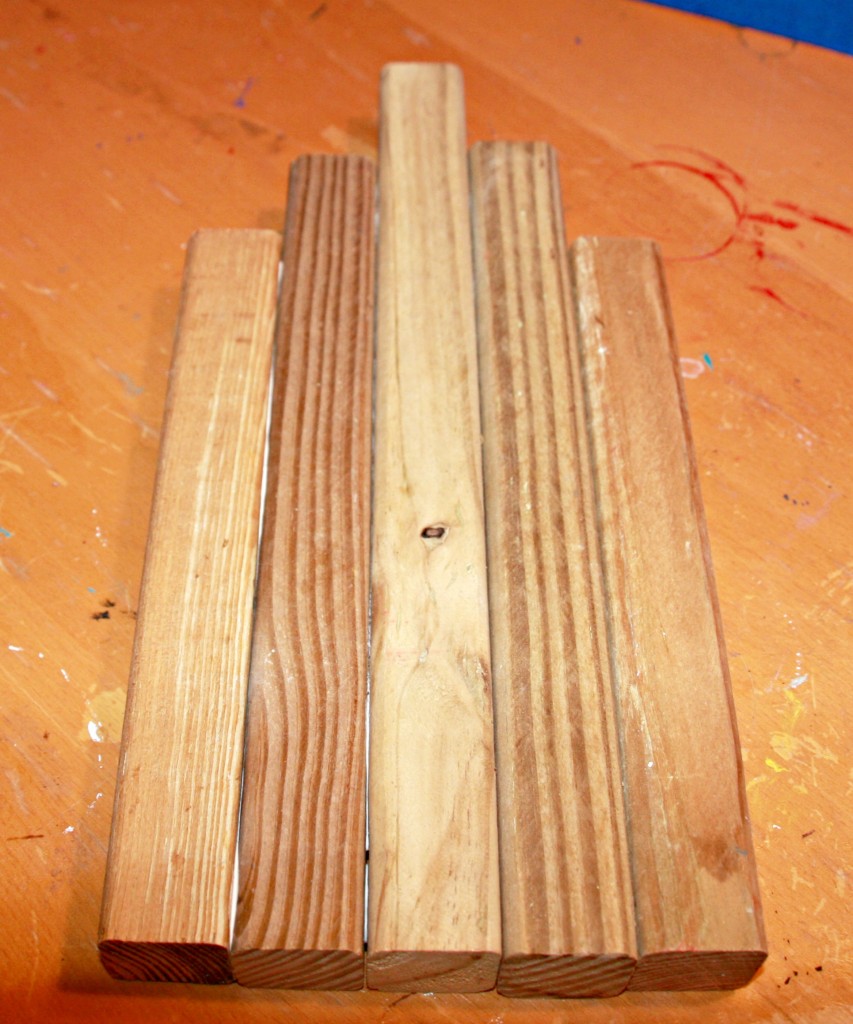
Once all five pieces are glued, use a wood clamp to secure the pumpkin until the glue has dried.
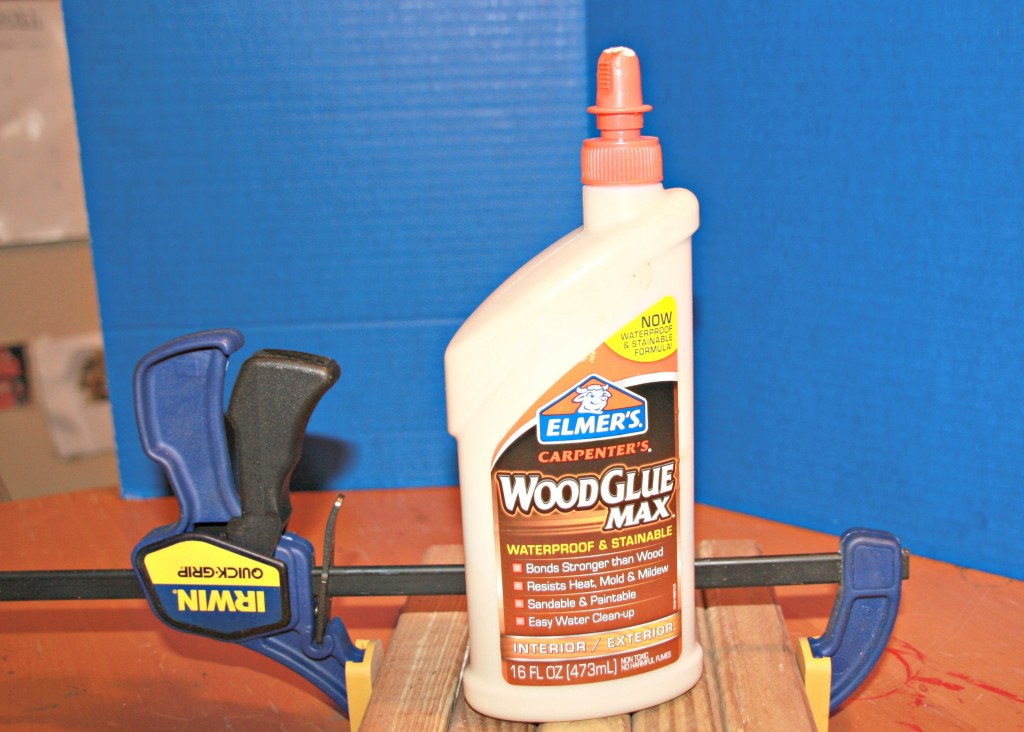
I love Elmer’s Wood Glue Max.
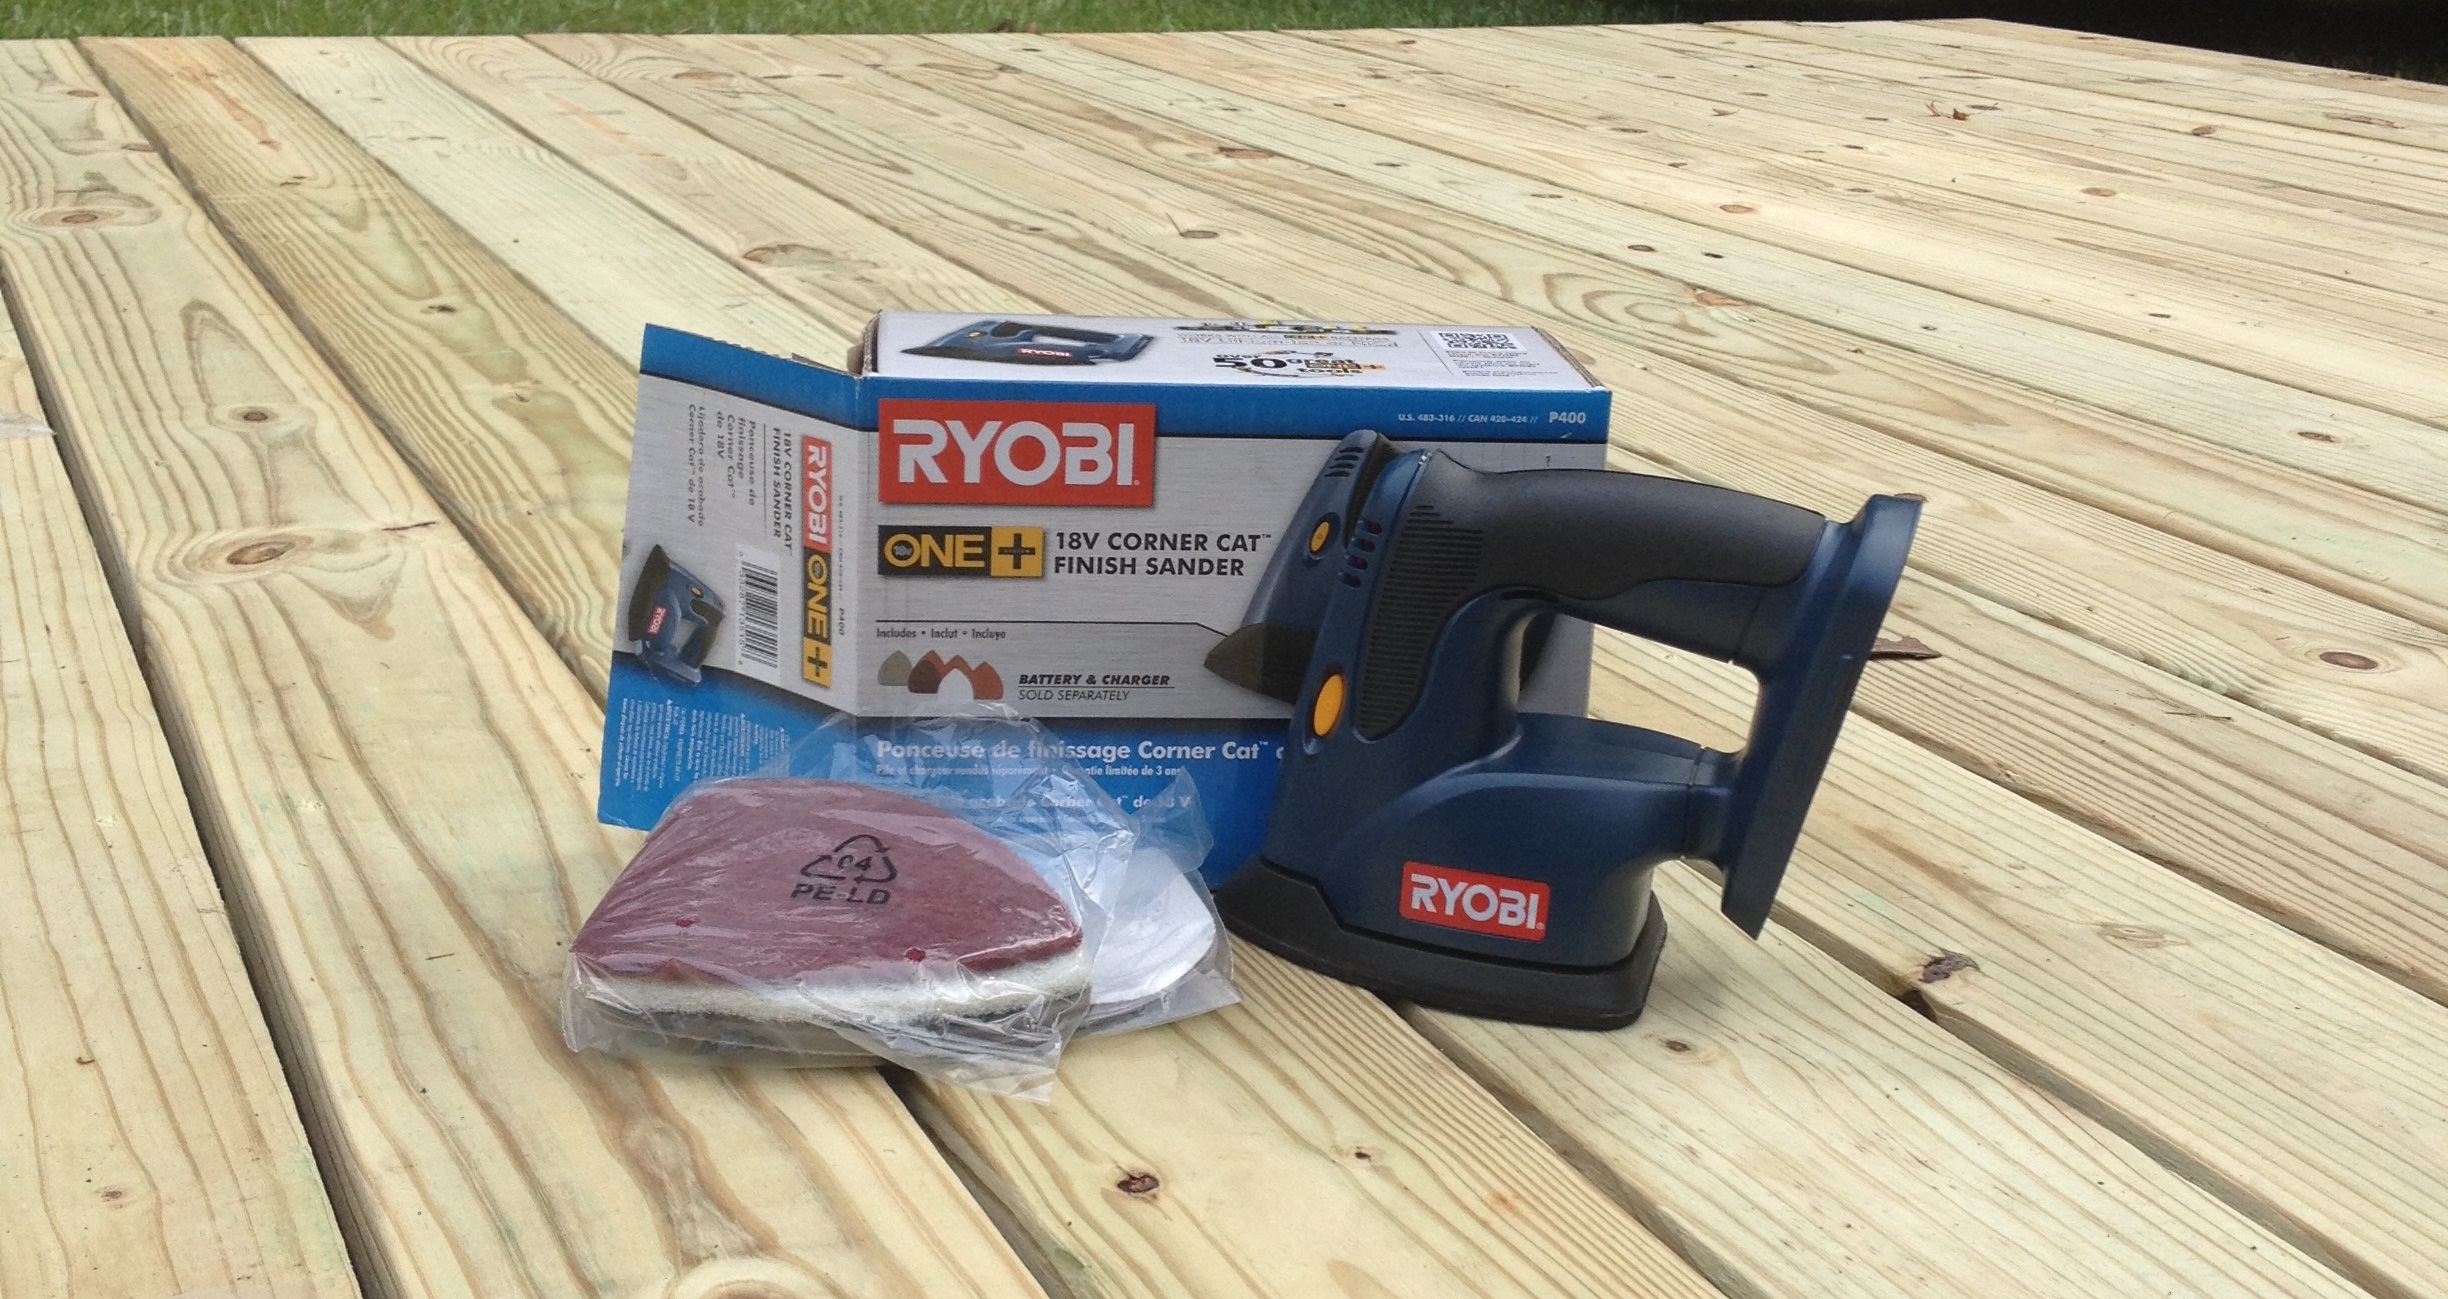
Once the glue has dried, I painted the pumpkins with three coats of orange acrylic paint and the stems brown. I didn’t care for the plain painted pumpkins so I hit them with my Ryobi Cat Sander giving them a distressed look. To create the great finished look, I put a coat of Minwax Stain on them and added a wrap of raffia around the steam.
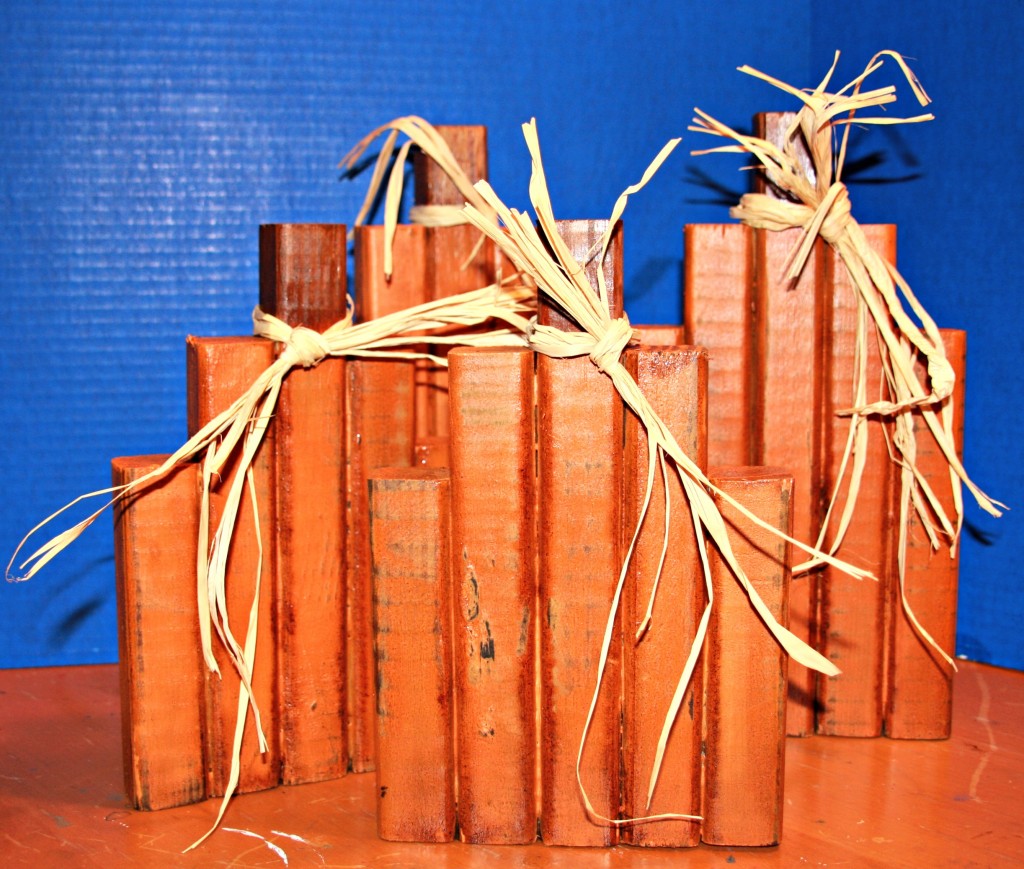
I know that pumpkins are round or at least sorta round but my pumpkins are SPECIAL – they are square and I love them.
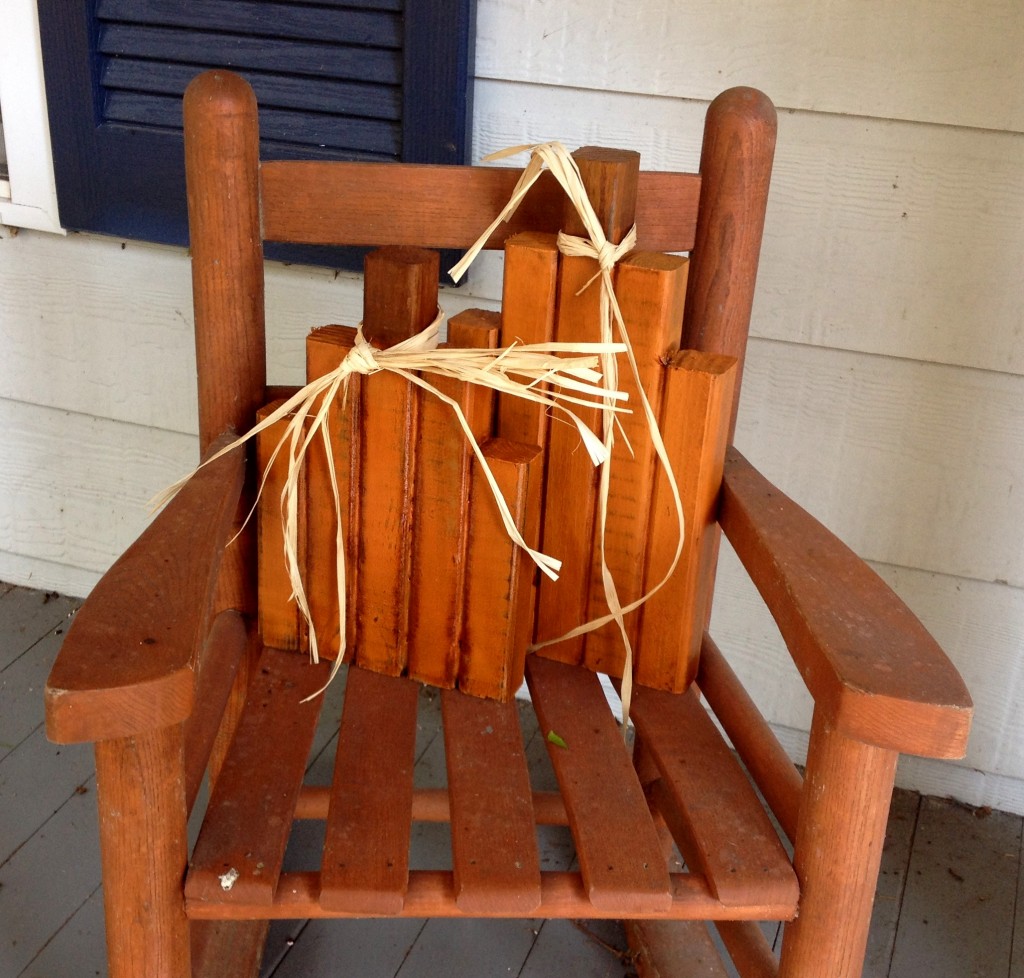
Who wants to be like everyone else? Don’t you want to stand out too?
Please Share



These look great! Love them
Super cute Traci! I love the messages you put into your posts. Yes, I want to stand out too! 😉
Thanks Jillene. I wondered if people were seeing my little messages.
These look really great! I love the idea of using the scraps!
I’m making snowmen next!
Love these rustic little guys! Clever!
Thanks Sara.