Staining The Pool Deck – Finally!
Thompson’s and HomeRight provided me with the products but all opinions are mine.
As y’all know, we have been hard at work on some backyard projects. I’m going to tell you right now, the hardest part of these backyard projects has been the Texas Summer Sun. I’ll confess – we’ve had to jump in the pool more than once!
Preparation
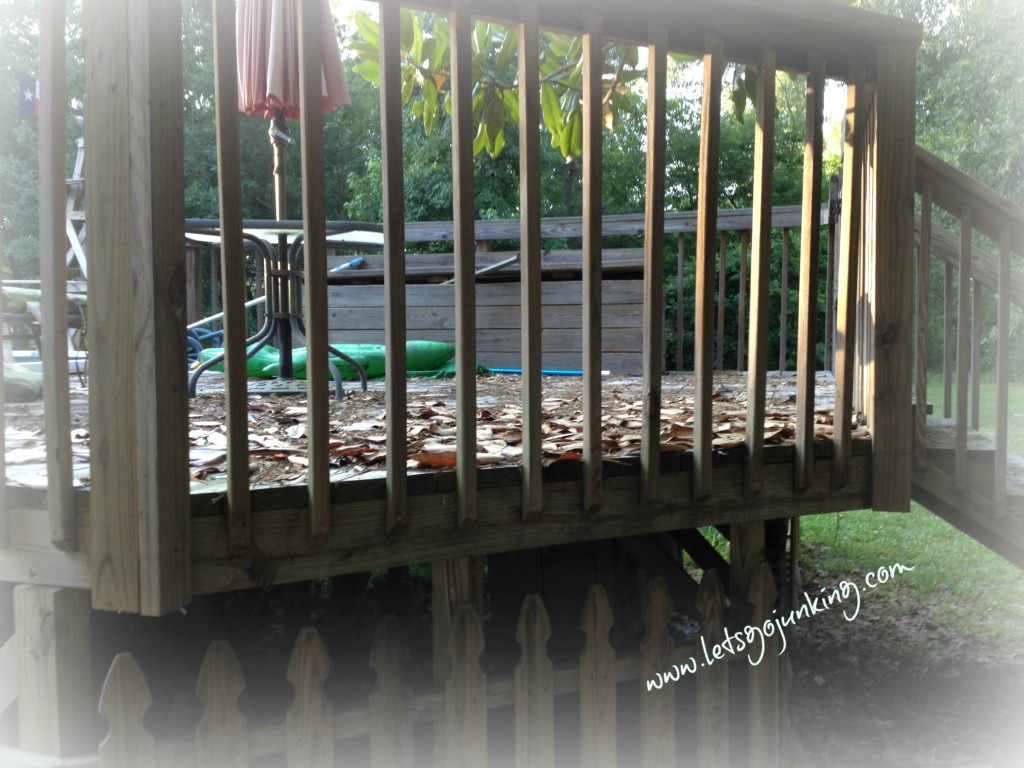
We had the pool deck already in place. This will be its fourth summer and we had not put any type of weather protection on it (I know – shame on us). The boards all looked pretty good structurally but they had definitely lost a lot of their color. I spoke with the Thompson’s Waterseal Folks while attending the SNAP conference this spring and they recommended their semi-transparent waterseal. 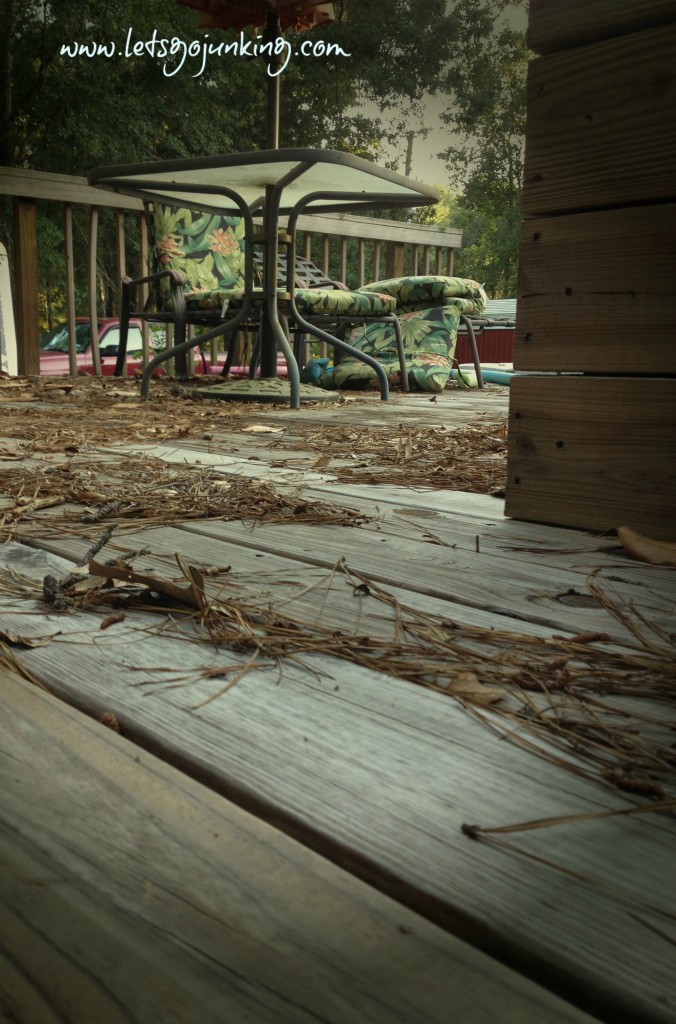
Really Sad Looking – Isn’t It?
Thompson’s produces four different WaterSeals and they all prevent water damage: Clear, Transparent, Semi-Transparent & Solid
- Clear
- Wood Sealer
- Helps Maintain Wood’s Natural Color
- Coating Resists Mildew & UV Damage
- Transparent, Semi-Transparent & Solid
- Wood Stain & Sealer – All In One
- Advanced Polymers Provide Fade Resistant Color
- Coating Resists Mildew & UV Damage
- Protection
- Transparent: 3 years on decks & 4 years on fences & siding
- Semi-Transparent: 4 years on decks & 6 years on fences & siding
- Solid: 5 years on decks & 15 years on fences & siding
We decided to try the semi-transparent, as recommended and we couldn’t be happier with our choice. The semi-transparent puts the little bit of color back into our boards yet, they don’t look they have been painted. The natural wood grain still shows through. Thompson’s Water Seal Waterproofing Stain is offered in five colors:
- Harvest Gold
- Maple Brown
- Acorn Brown
- Sequoia Red
- Woodland Cedar
We selected the Harvest Gold because we were looking for a light color that would match with the new construction we are doing in the backyard. 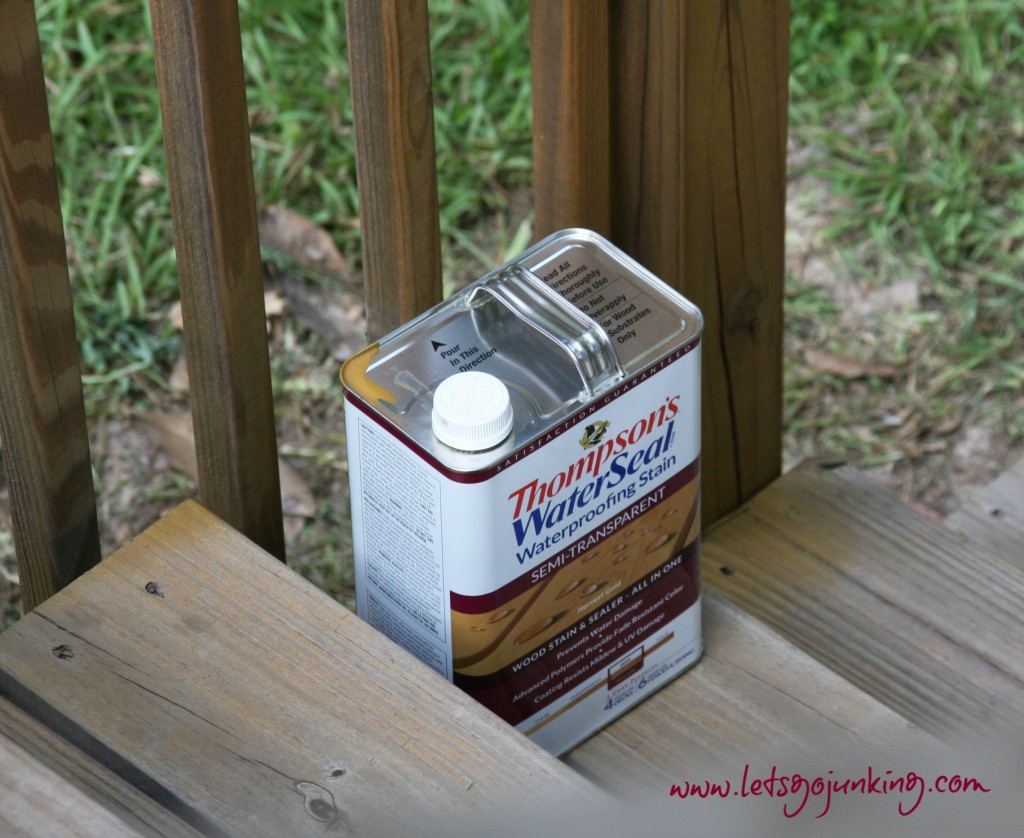
To prepare the deck for staining, I strongly advise you use the Thompson’s Deck Cleaner. We pressure washed our deck first and even if you “think” you have cleaned it well with the pressure washer, believe me – there is still gunk and mildew on there that will show up on the Transparent and Semi-Transparent Stain. Thompson’s can be applied to damp wood.
As I mentioned earlier, we are crazy working out in this summer heat. Thompson’s advises that application not take place if temperatures (ambient and surface) are over 95 degrees. We waited until mid-evening, where there was still plenty of light yet, the temperature had gone down past 95 degrees and the deck boards had cooled off. With drying time of less than 2 hours and how fast we were able to apply the stain with the use of our handy HomeRight tools (see below) – it was a perfect plan.
What we loved about the Thompson’s WaterSeal Waterproofing Stain:
- The opacity options available
- It is a “grab & go” – No mixing or shaking at the paint counter. (Just shake well before using)
- Loved the package design
- Square can (easy to store)
- Easy to carry
- No mess when pouring
- One coat coverage!!!!
- Dries to touch in 2 hours
- Length of protection
FLASH: Thompson’s is offering a rebate right now and through September 1, 2014 on their deck stain. There is no reason now – Not to get that deck of yours stained and protected. Get that rebate!
Application
For this project, we were also given the opportunity to use the NEW HomeRight Finish Max Pro Fine Finish Sprayer and their StainStick with Gap Wheel. Thank goodness for these tools or we would still be staining that deck. 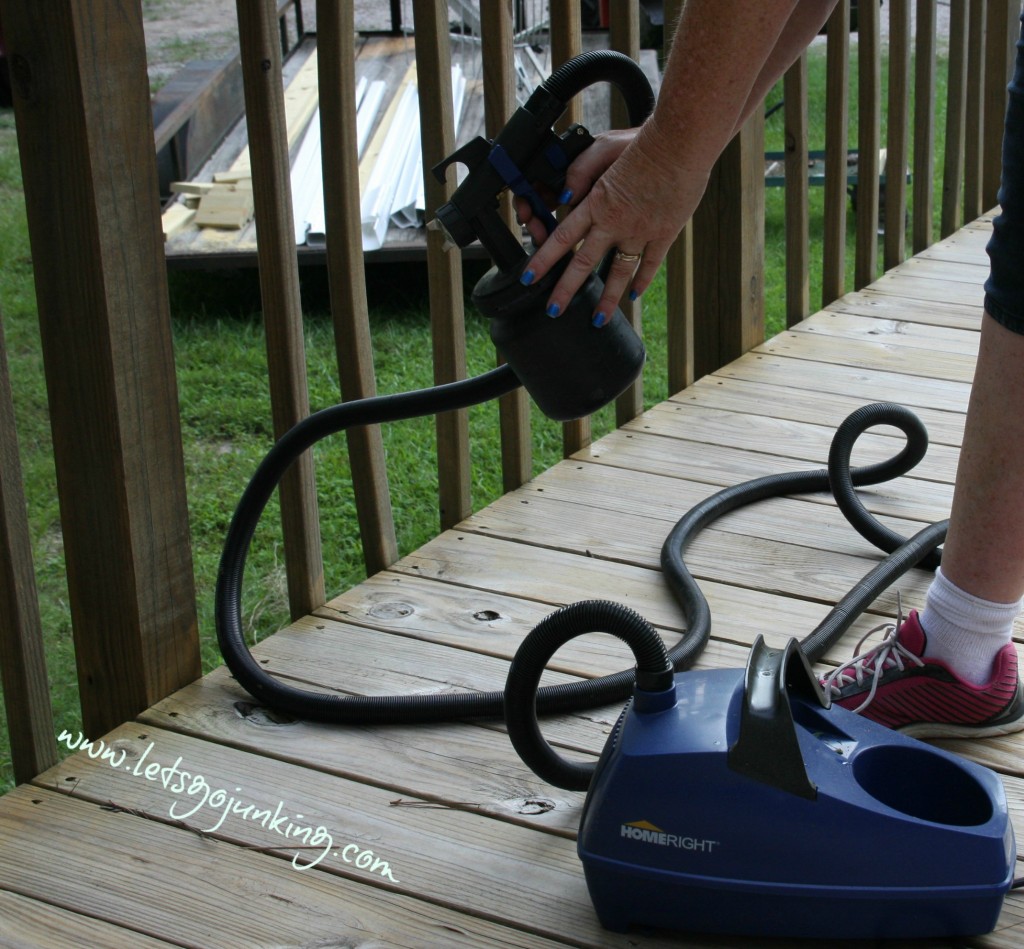
The Finish Max Pro was designed for larger projects and to give a professional finish with minimal overspray – so, it was the right tool for this job! We used the sprayer on the railing and spindles of the pool deck and since the gun has a two way spray pattern setting (horizontal & vertical) we were able to finish up quickly and with minimal overspray, underspray and without lots of wasted stain. (Translates to: Saved us money!)

What we loved about the HomeRight Finish Max Pro Fine Finish Sprayer:
- Super Easy to Use
- Lightweight
- Works like a big can of spray paint – NO FEAR!
- Easy clean up – Soap & Water
- Sprayer comes with an extra paint can so you can have the next one mixed and ready to go
What we didn’t like about the sprayer:
- Its tail (the extension cord) was a little cumbersome to work all around the deck – BUT WE HAVE NO PROBLEM LIVING WITH THAT!
- Operator Error: Kept stepping on the air hose – Which halts production since the air can’t get to the sprayer.
I want to thank HomeRight for giving me the opportunity to use this sprayer. I was always a little leery of using a paint sprayer. Many, many, many years ago I had tried this big cumberson paint sprayer. I remember it was metal and silver. Overspray was terrible, clogging, dripping everywhere, pain to clean – it just wasn’t worth the effort. I never thought I wanted to spray again. THANK YOU HomeRight. I already have another project I’m doing next week. I’m working on a swing for the front porch. I’ll let you read all about that later.
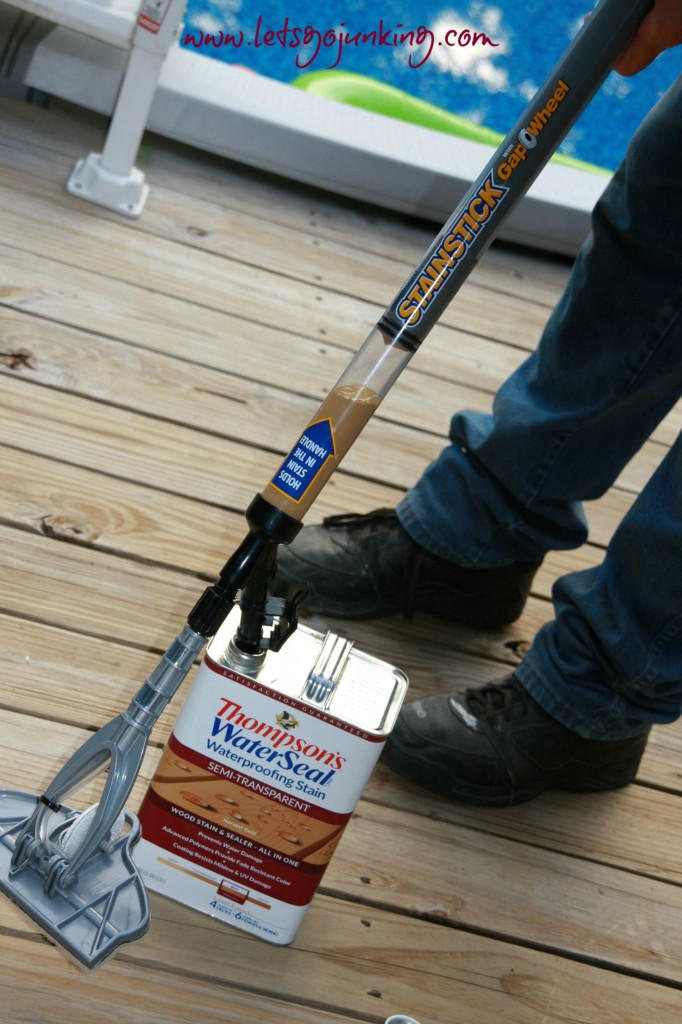
This cute little fella is called a HomeRight StainStick with Gap Wheel. That’s what it is a – stain stick with a gap wheel. It lets you stain the deck boards and the gap between the boards. AMESOME! Just load the Thompson’s into the handle using the handy loading tool thing (not sure extactly what that is called) and you are ready to stain! The stain is delivered to the applicator pad through the handle and then the gap wheel is spring loaded and it just bumps along with the pad. It is like magic. Now, it does take a few passes to get the hang of it so that you aren’t pouring stain all over the deck but once you do – you can’t believe how fast the job goes.
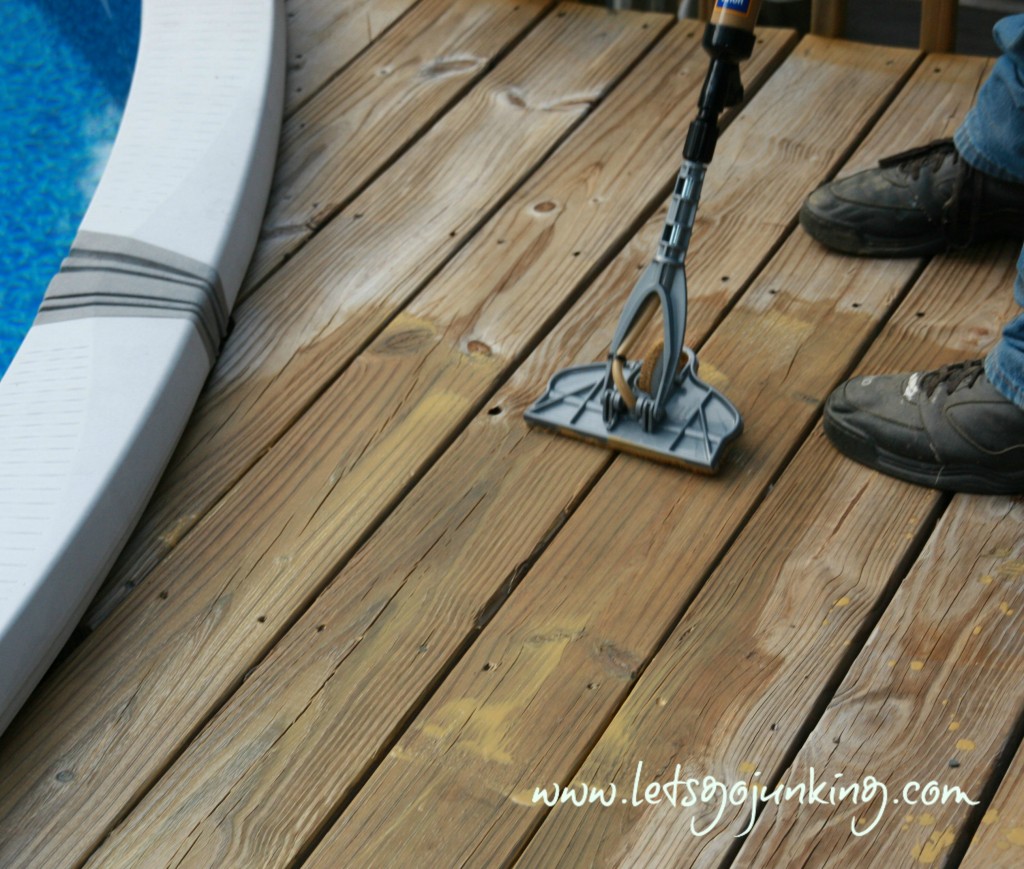 What we loved about the HomeRight StainStick with Gap Wheel:
- Unbelievable Time Saver
- The gap wheel coats between the deck boards
- Stain/Paint is in the handle
- Easy to load
- Easy to clean
What we didn’t like about the StainStick with Gap Wheel
- It is not made for tall people. If you hold the top of the pole the stain/paint floods out
Since our wood was a bit older, the pad would occasionally catch on a knot or other spots in the wood and then break off into a few little splinters. We had to do small touch ups in a few areas with sandpaper and more stain but all is well. It did slow the process down just a tad – but what would a project be without a few “problems” – hey, that’s what makes it entertaining. Lesson Learned: Don’t wait four years to protect your wood projects.
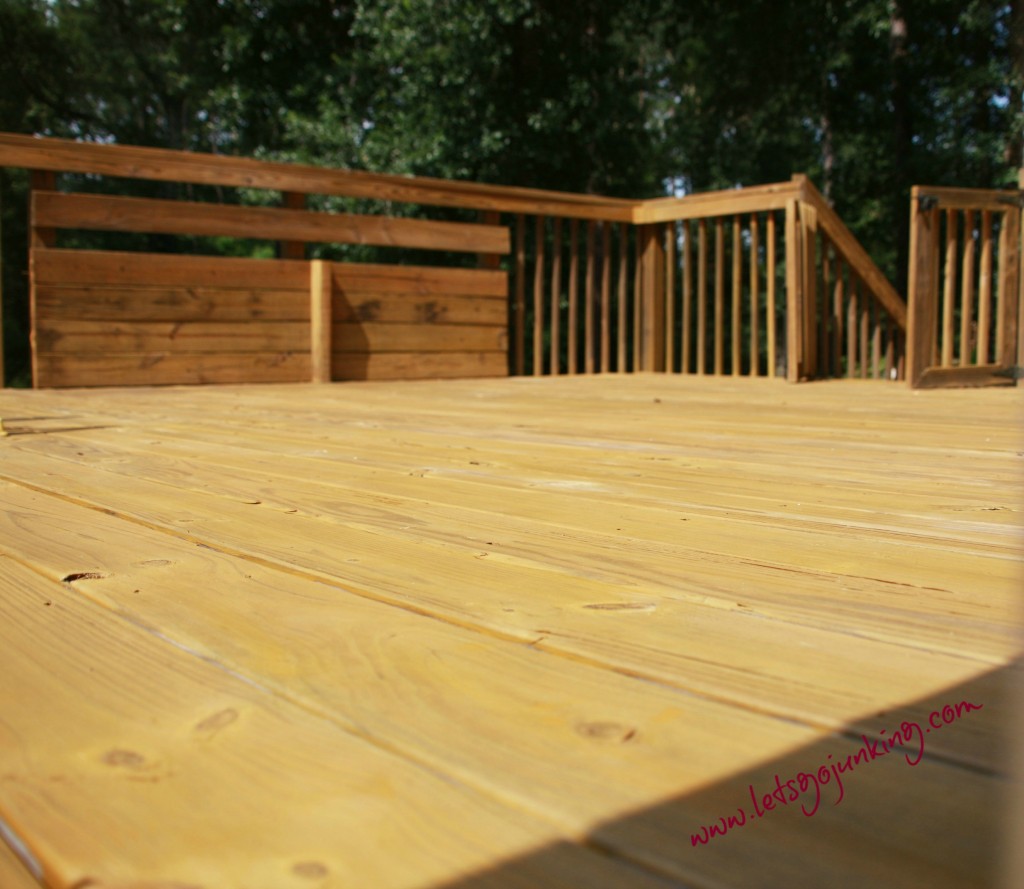
We are very proud of our “new” deck. 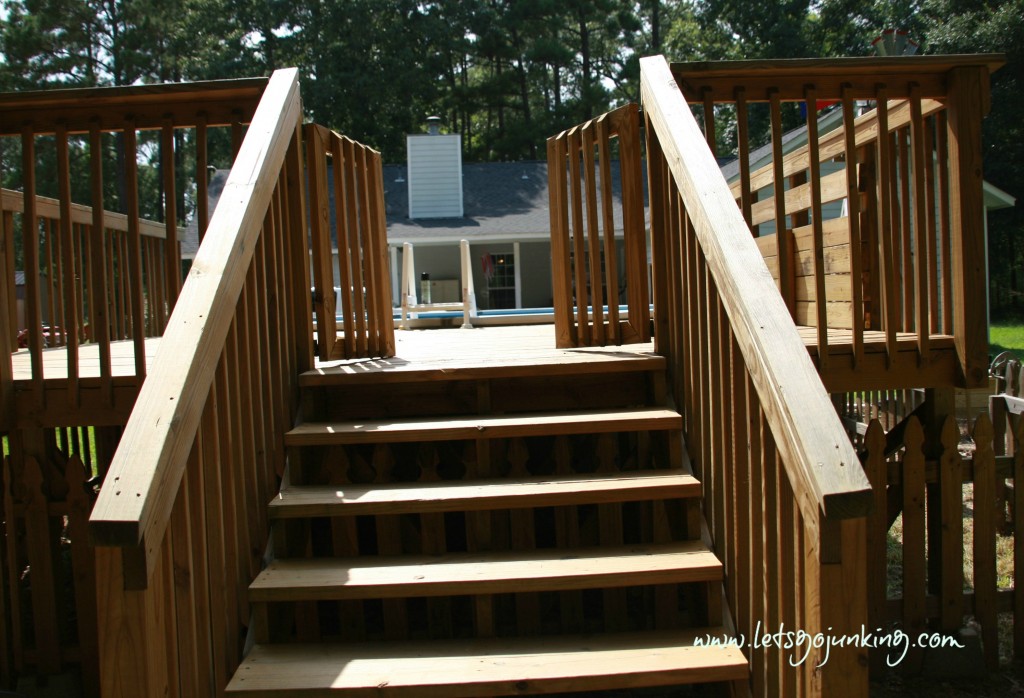 Pointers for staining your deck:
- Thoroughly clean deck. Use Thompson’s Deck Cleaner
- Get a HomeRight Finish Max Pro Fine Finish Sprayer and their StainStick with Gap Wheel
- Use Thompson’s WaterSeal
- Put something on it before 4 years go by
Please Share


Looks great! Can’t wait to try mine out, but need to wait for the Texas heat to disappear! LOL
Awesome post! Your making me want a deck to stain–hahah The finished results look great and you definitely sold me on your system and products. You go girl!!
We’re staining our deck this week and I’m already looking at the Stain Stick because of your post! You did an awesome job!
Sounds pretty easy and looks good. Excellent color choice if it was good enough for those 70’s kitchens, it’s got to be good for decks.
Looks great, Tracey! Love the results – so clean!
The difference before and after is amazing. It looks so great and like it is brand new! Great job.
Great jog, Tracey! You make it look so easy, and the end result is FAB! Almost like having a brand new deck.
Looks great!!!!
WOW!! It looks great now!