Three Quick Projects With Paper
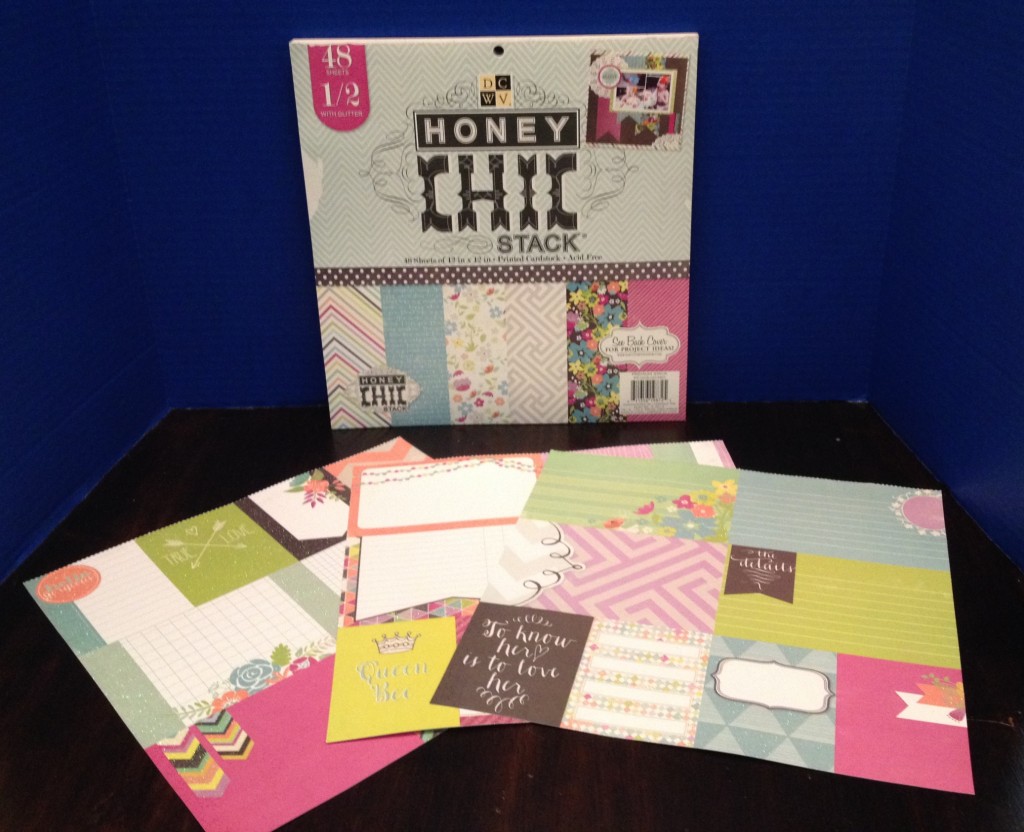
A couple of days ago I received the surprise box of wonderful new papers from DCWV
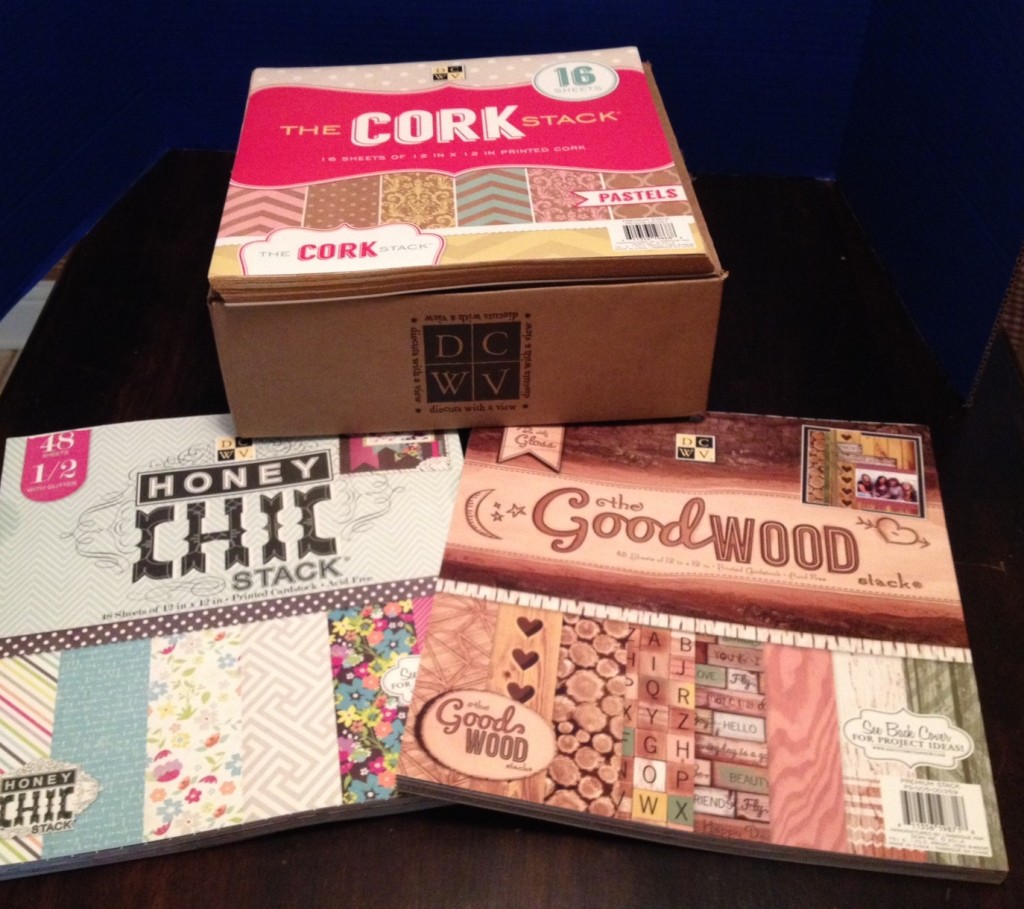
Here’s what a did with them. These three projects are quick and easy – anyone can make them.
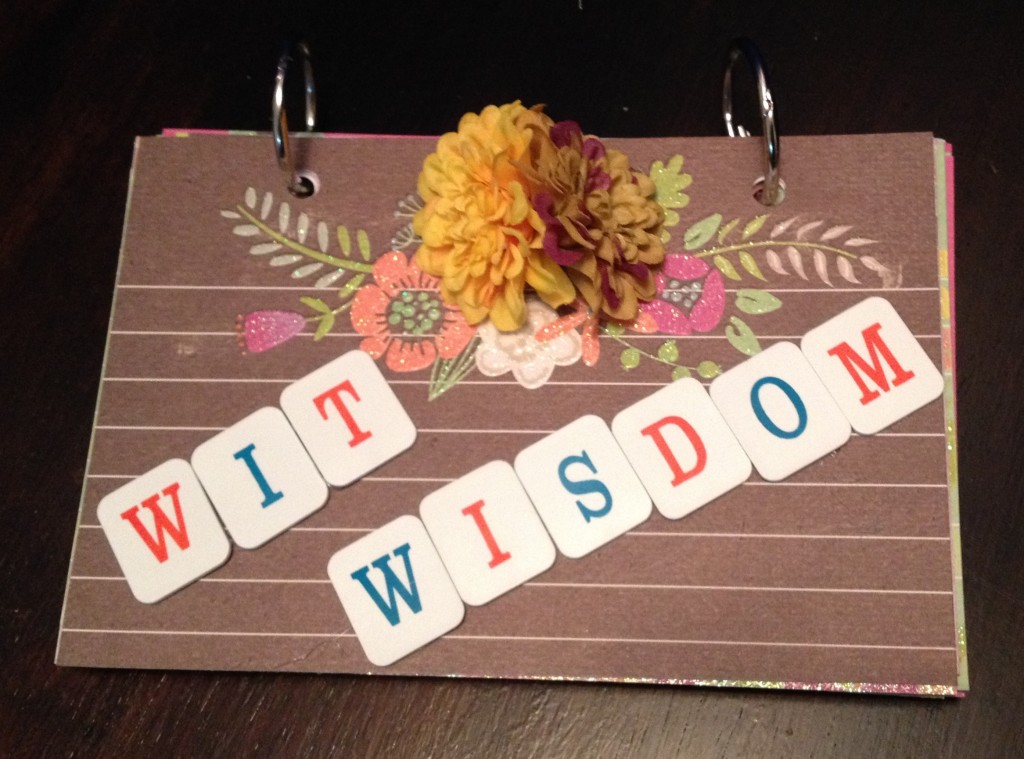
I remember when I was in grade school and junior high we had little “autograph books” where we collected bits of wit and wisdom from our friends at the end of the school year. Does anyone else remember these?
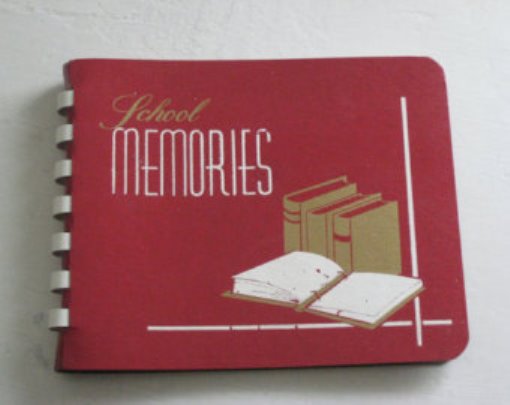
I took papers from the Honey Chic stack and created a little autograph book.
Some of the papers in the Honey Chic stack were already sized for the pages in my book all I had to do was cut them out.
The only other supplies I needed where small binder rings, a couple of small flowers, and some lettered game pieces I had. You will also need your glue gun and a hand hole punch.
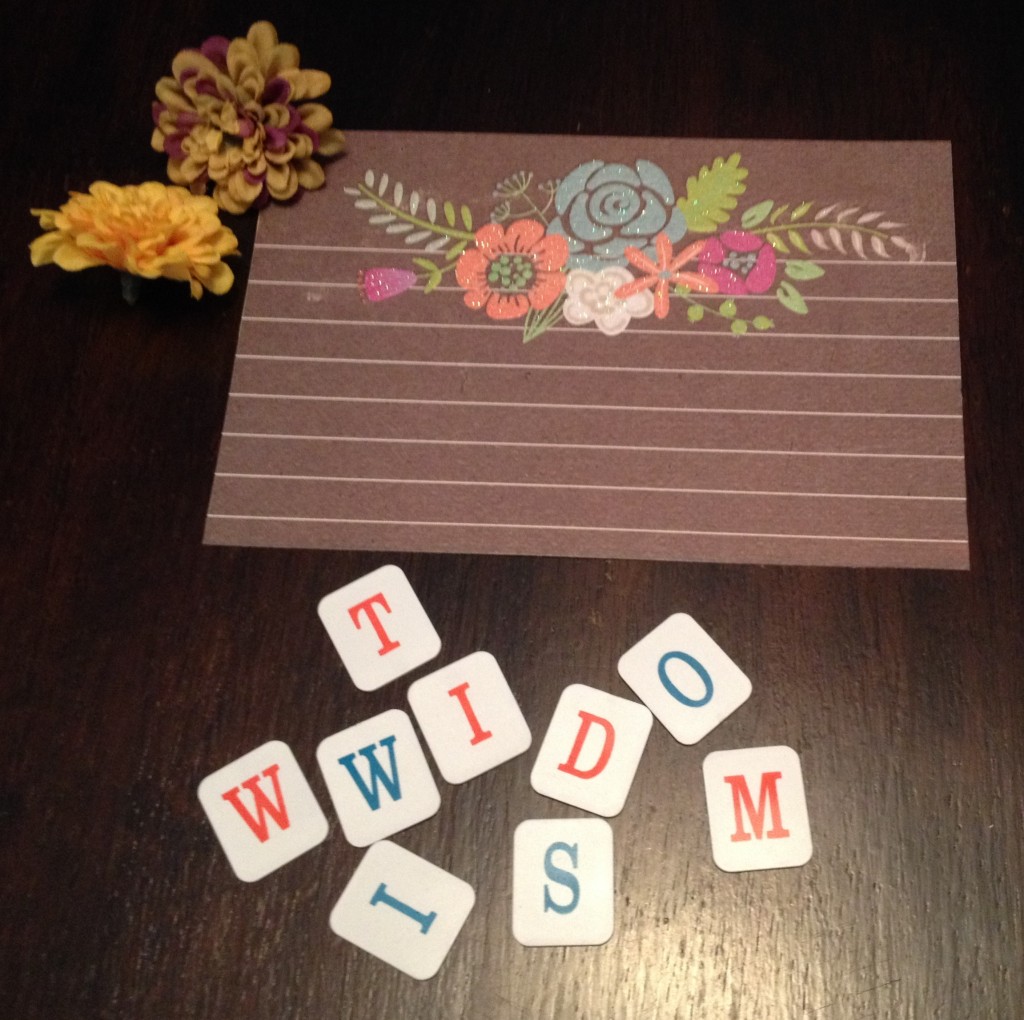
Easy steps:
- Cut out your pages
- Line your pages up and punch the holes in the top
- Glue the flowers on the front cover
- Glue your letters on the front cover
- Run the binder clips through your pages
- DONE
Next project was created using the Good Wood Stack. I also used a $1 heart chipboard book, scissors and ModPodge.
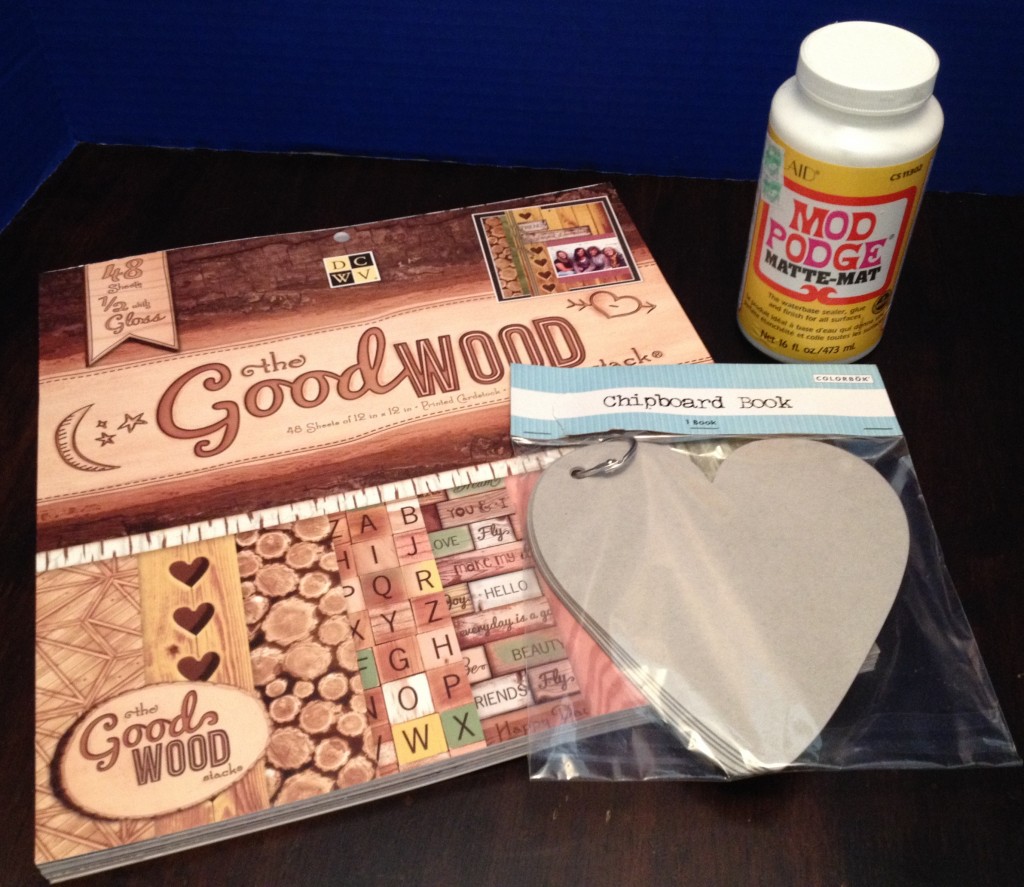
Now I know that when you think of wood and trees you don’t automatically think of hearts and love. But when I was flipping through the stack this page caught my eye and my heart.
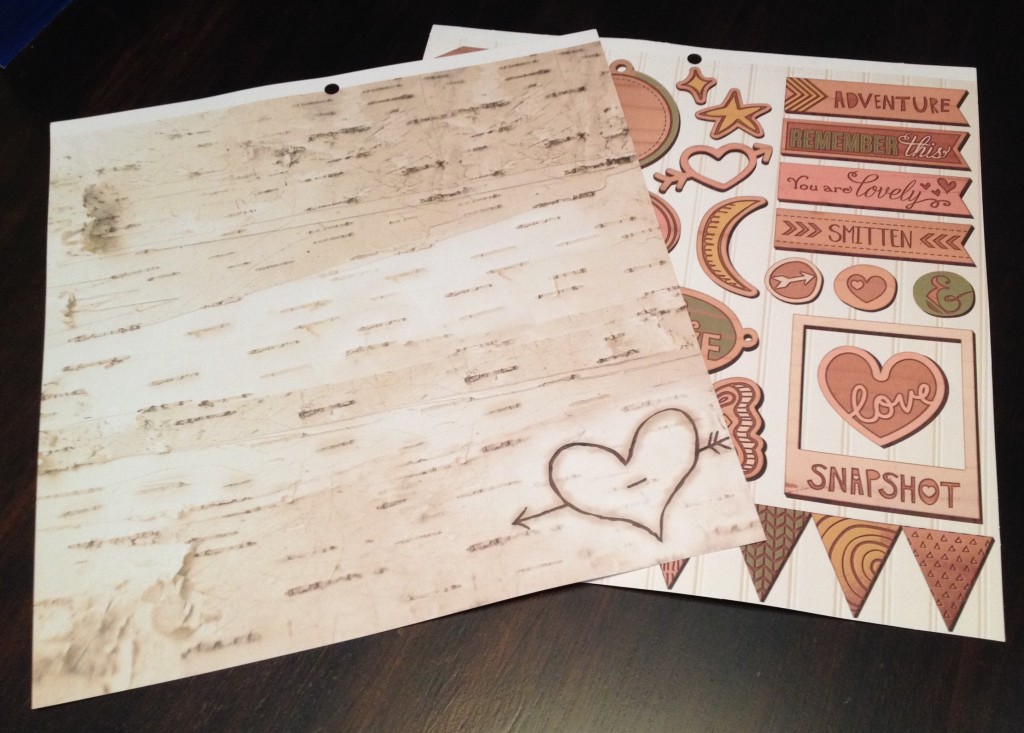
I thought of all the young loves that were carved into trees. Like this one
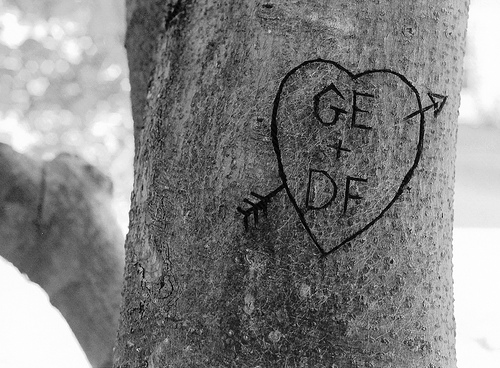
I wanted to make a book for my sweet husband and fill it with pictures of us over the last 20 years.
It was a simple project. First, I traced two hearts on the back of each sheet. I just love #2 pencils.
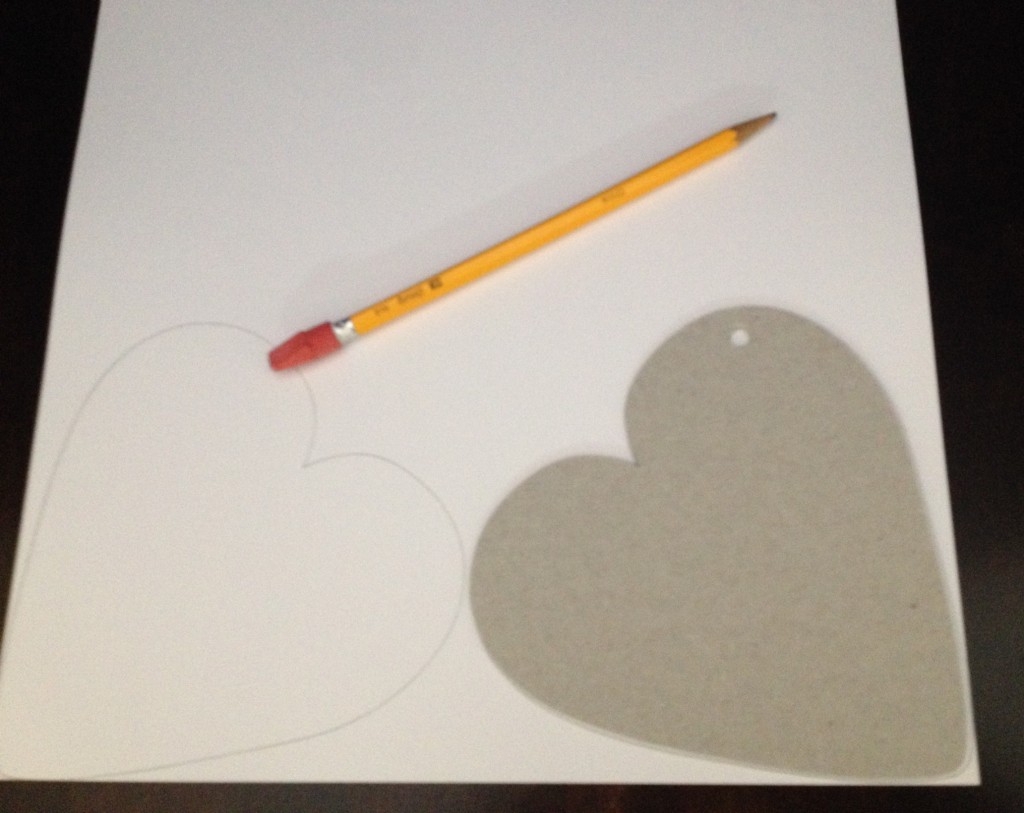
Next, I cut out all the hearts and ModPodged them to the front and back of each heart. I wanted my hearts to look like pieces of wood.
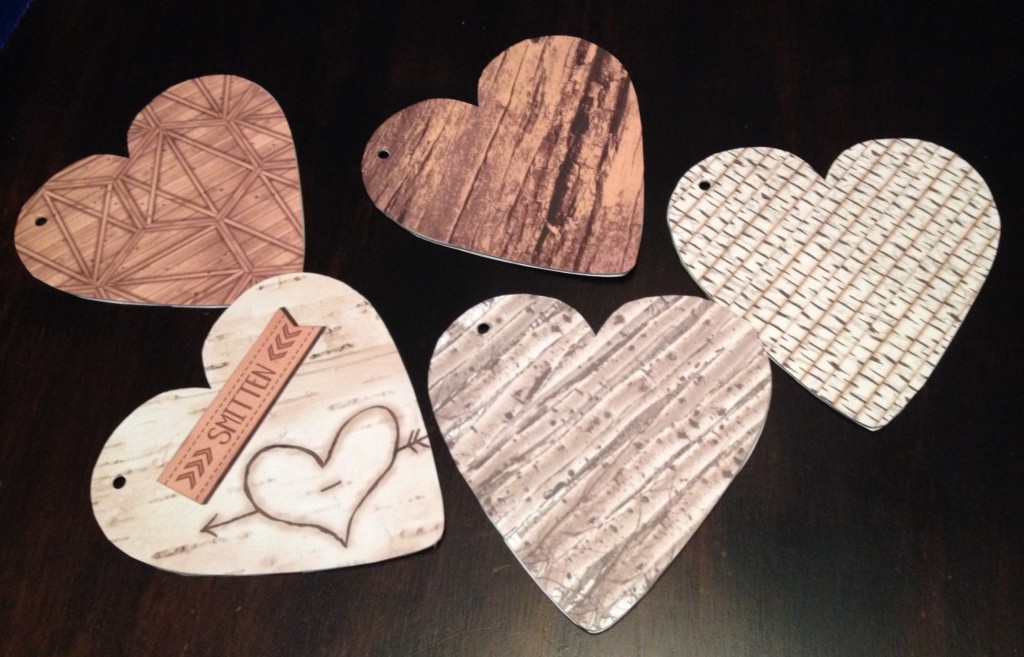
Of course, I wanted my front cover to show the heart carved in the tree and I found “Smitten” on one of the pages of the stack.
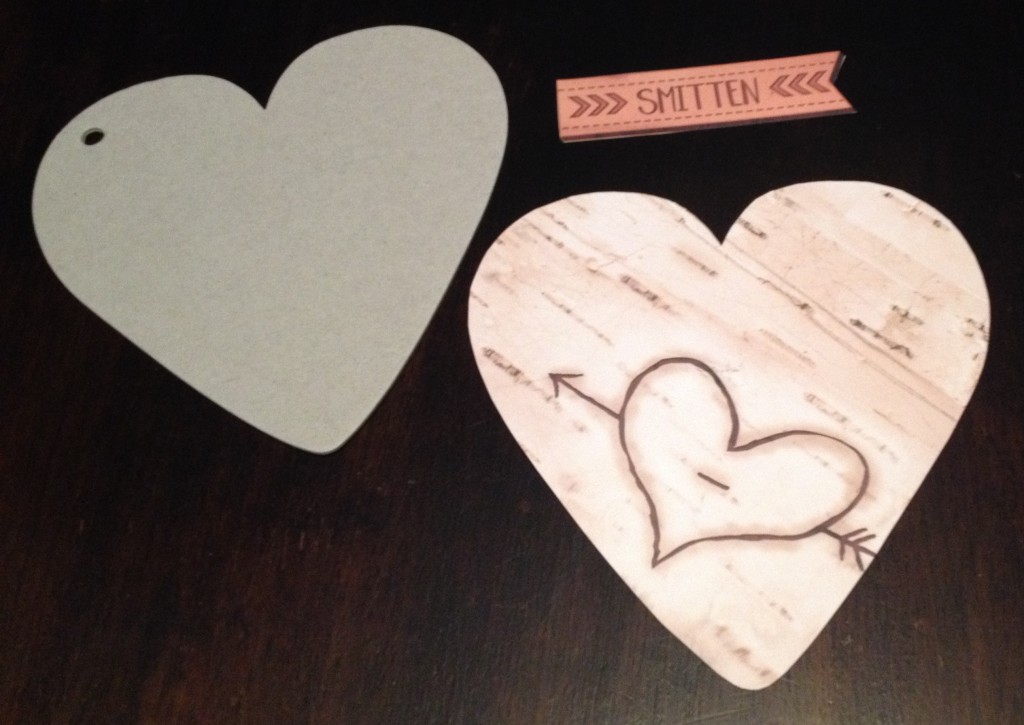
I also put a protective coat of Mod Podge on each page. After all the ages had dried, I used a hand punch and punched the paper to put the small binder ring through them to create my book.
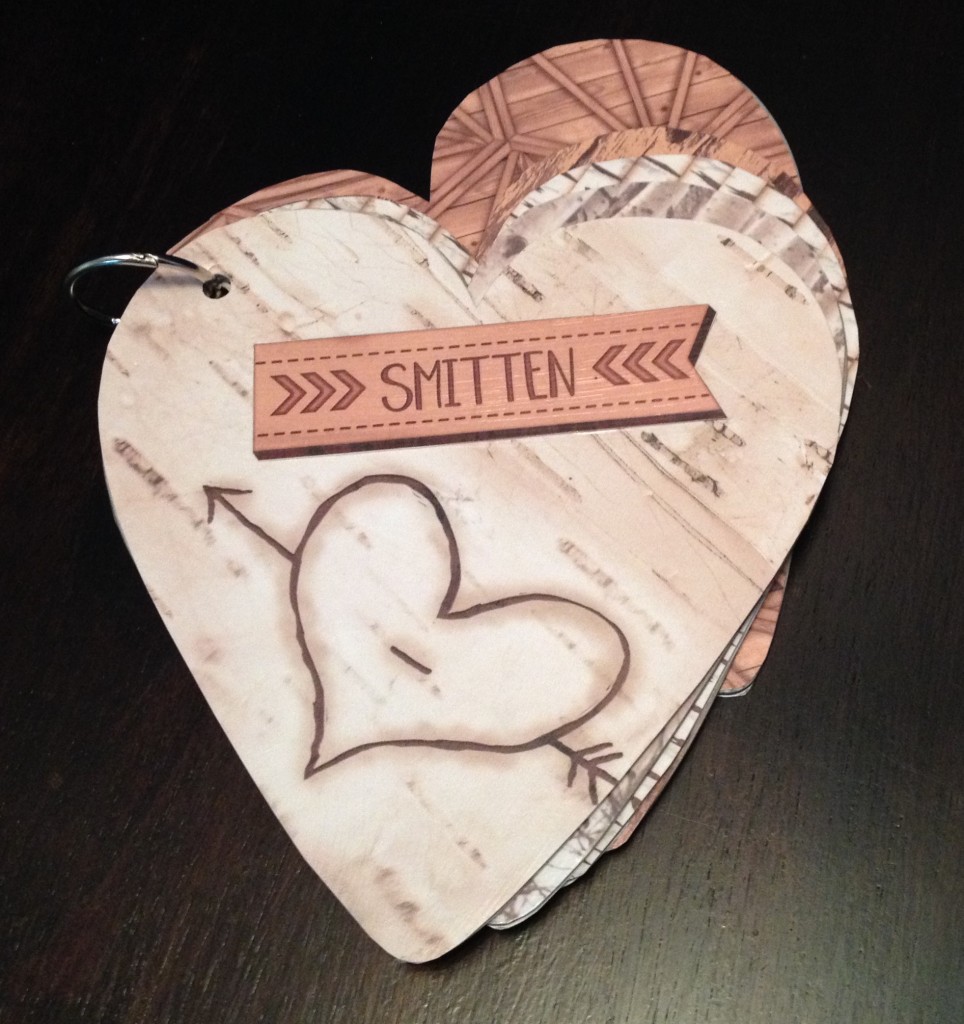
Now all I have to do is put my pictures in the book and wrap it for him as a special surprise gift. I think he’ll like love it!
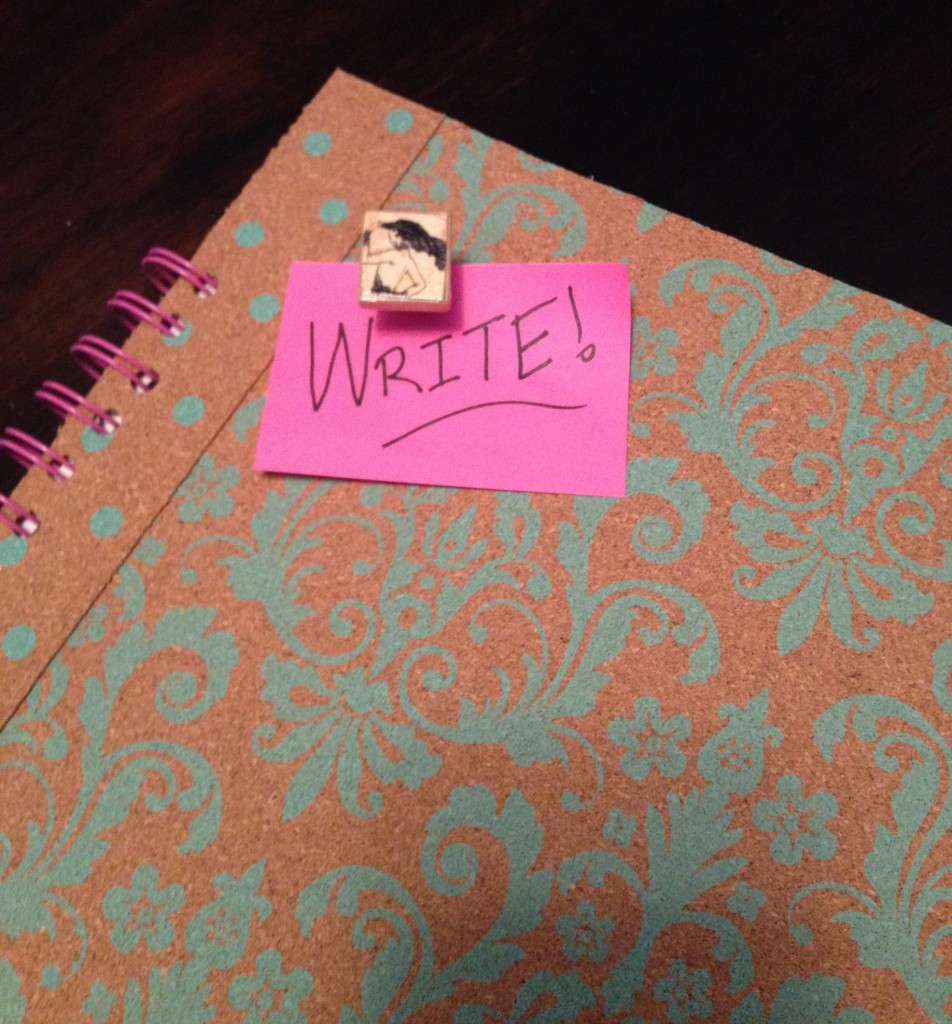
Last quick project was made with the Cork stack. I love any kind of bound book. Even in today’s electronic world I have a strong attachment to paper. I still love to take a pen or pencil and write. I have journals everywhere. I also have notes stuck or pinned everywhere. I thought wouldn’t it be cool to have a journal that I could actually “pin” notes to it. With this Cork stack I could do that.
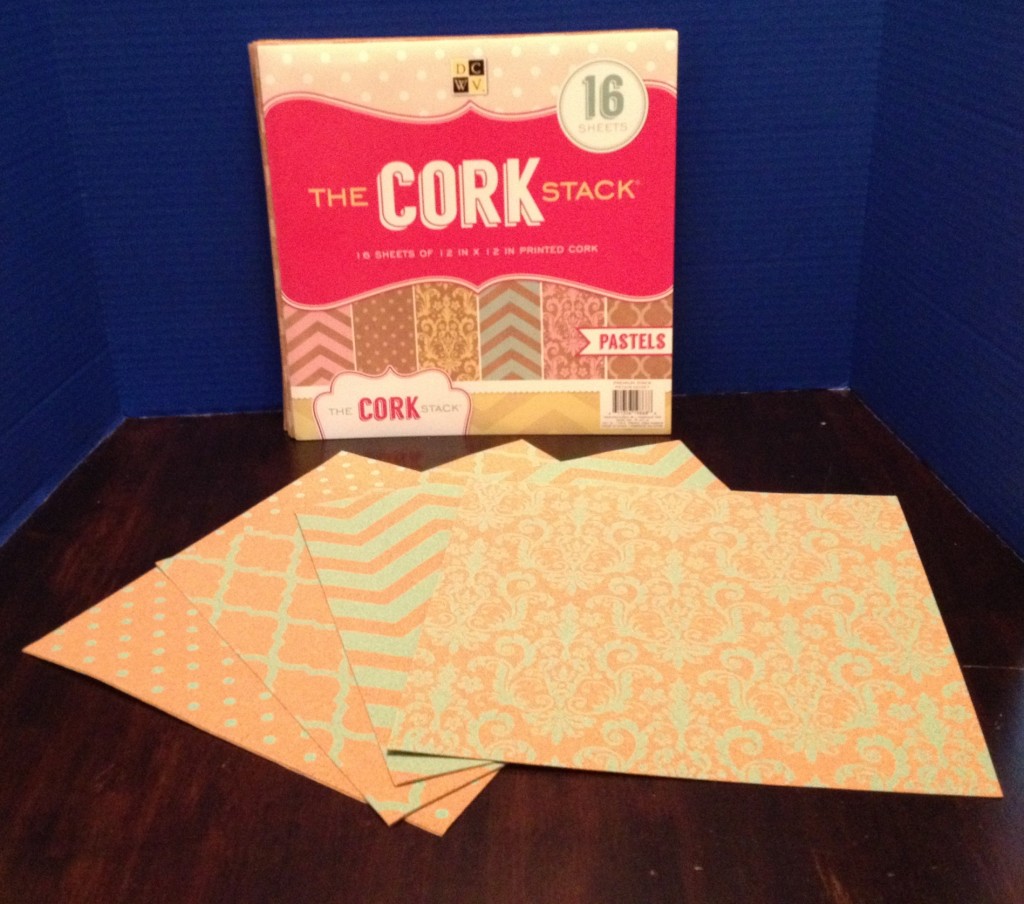
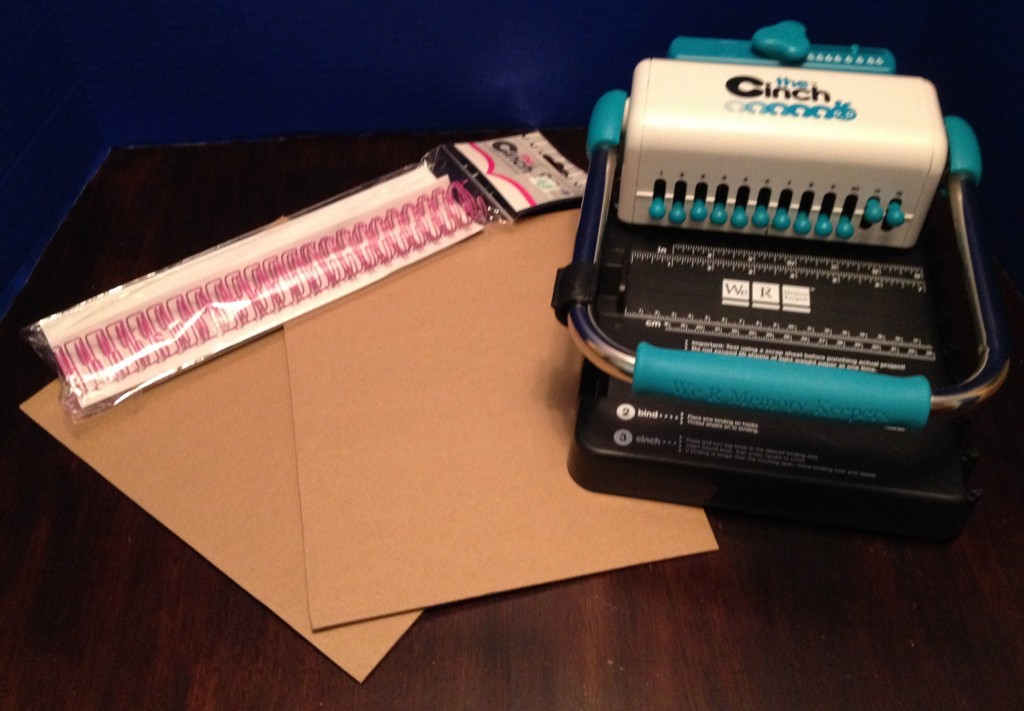
Another quick and easy project. I used a couple of coordinating sheets from the Cork stack, recycled cardboard inserts from a box of forms from husband’s work, sheets of paper and my wonderful We R Memory Keepers The Cinch Bookbinding Tool.
I cut the cork sheets to fit on the cardboard. Since the recycled cardboard came out of a box of forms, the size is perfect for regular sheets of paper. You can select to use plain paper or lined paper for your journal.
These cool cork sheets are self adhesive! Can you believe that? After I cut the cork sheets, I just peeled the back off and stuck them to the cardboard. Note: The recycled cardboard I am using is the “puffy” ones which give a little more space for my pins to go through.
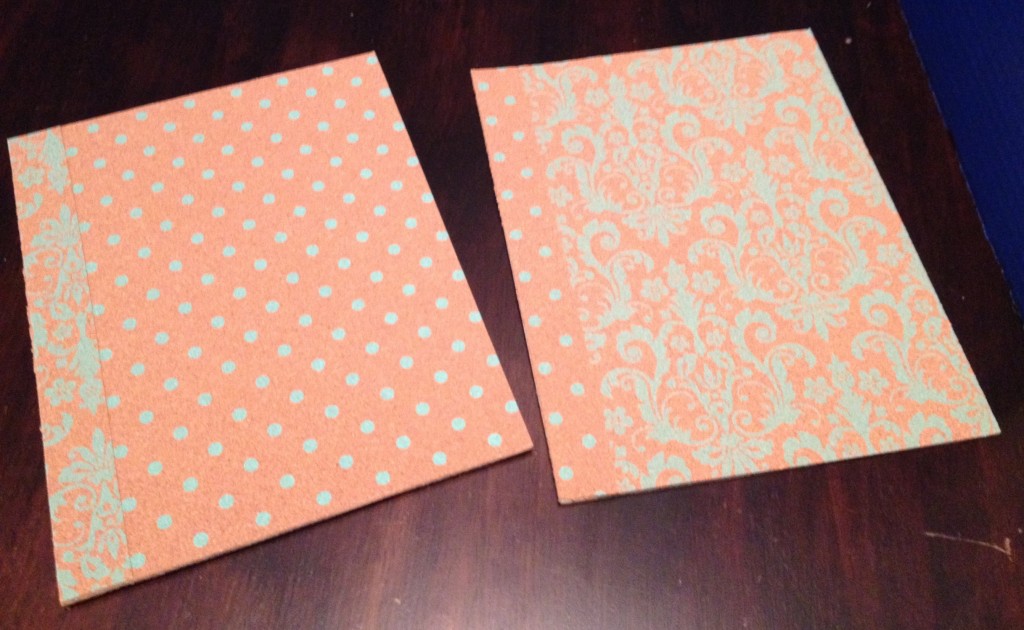
I like to add a little more support to my books by adding a coordinating strip along the binding edge.
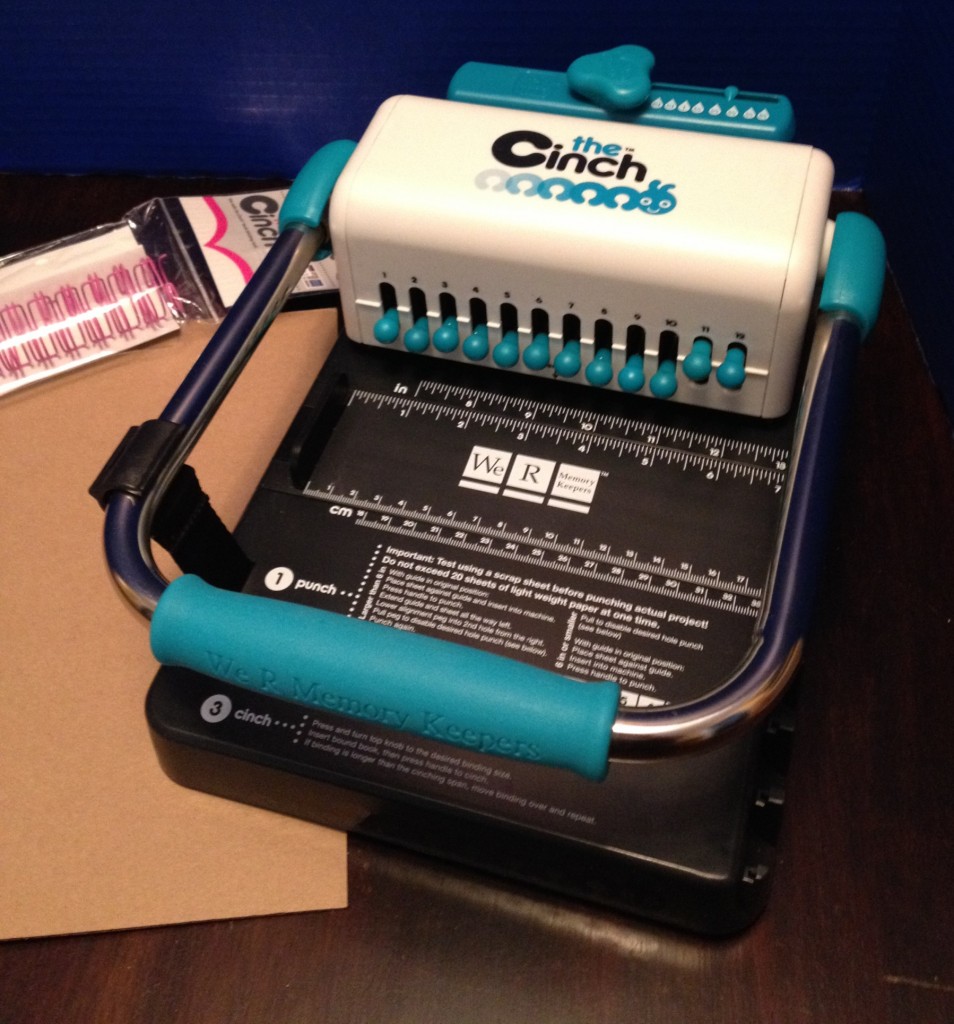
We R Memory Keepers The Cinch Bookbinding Tool. I love this machine!! Of course I do, I love to make books. The Cinch lets me bind books several different ways. You can purchase several types of spirals and in a variety of colors. You don’t have to use the metal spirals if you want a softer look for your project. I have used ribbon, leather, fabric, tulle and other materials. With the Cinch you can make big books, little books and mini books. Your books can have a couple of pages or a couple of inches of pages.
.
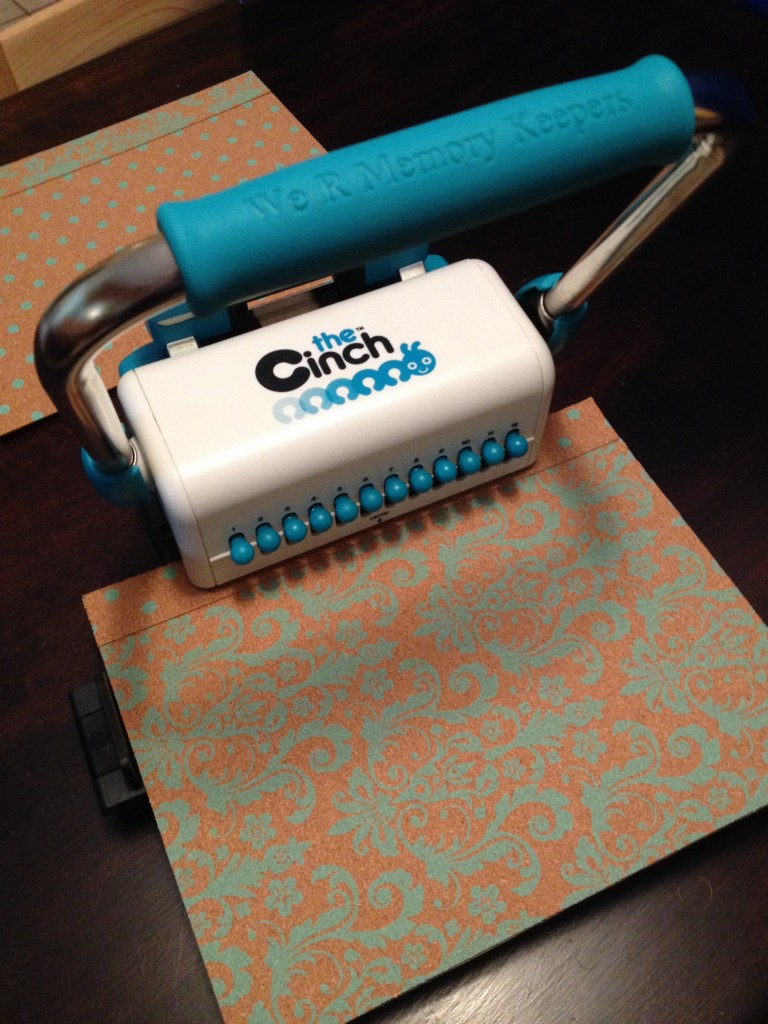
After I punched the covers and my inside papers, I just bound the entire project and here it is
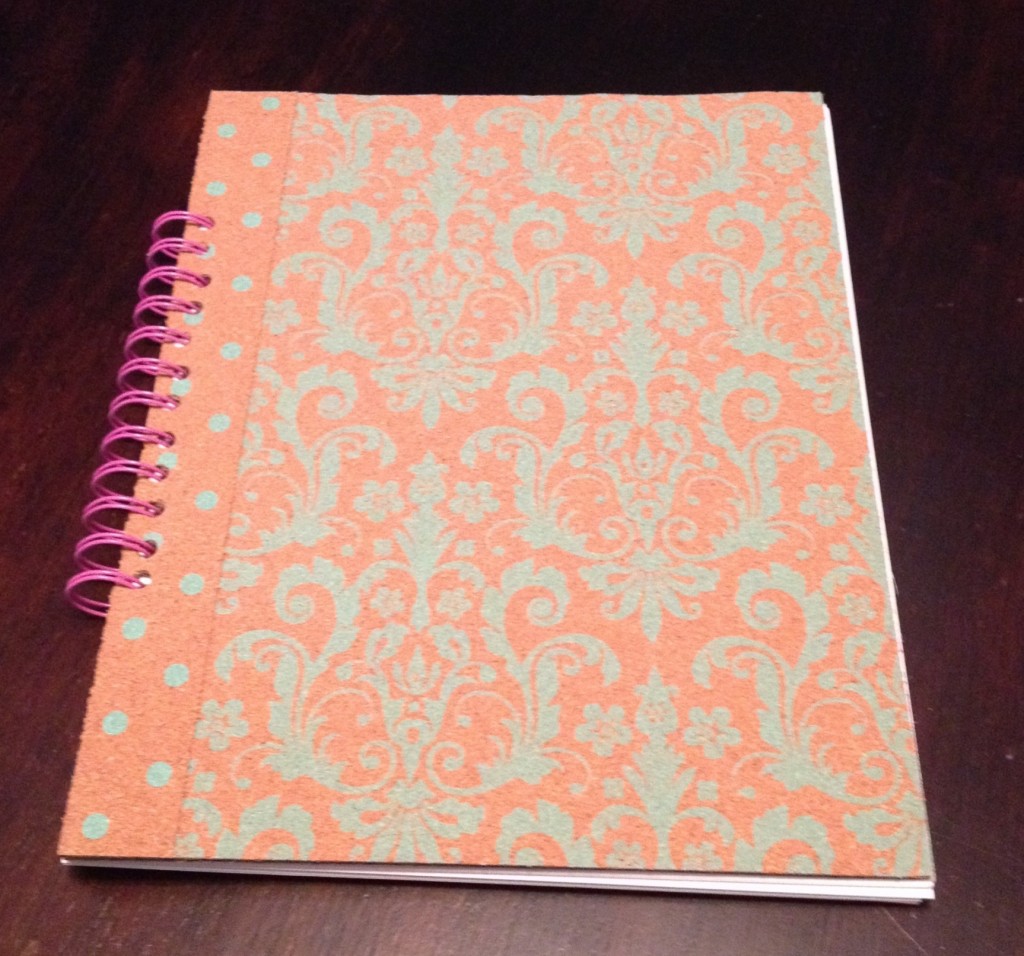
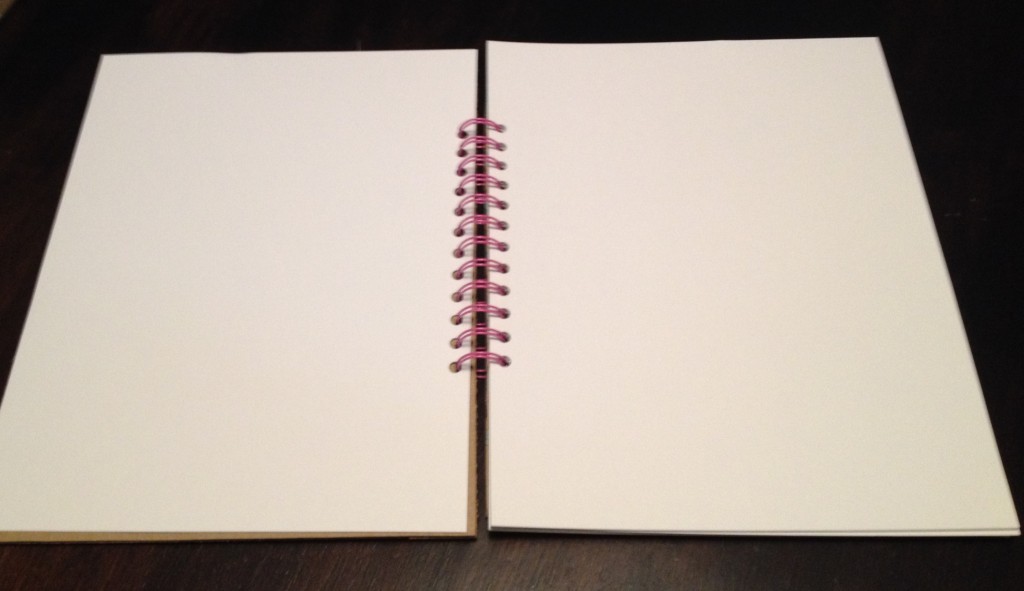
I think it turned out kinda cute. What do you think?
Please Share
