Wallternatives – Pattern For The People
Many of you are familiar with Royal Design Studio and their fantastic stencils. It would only be natural for them to expand into vinyl decals for home décor. Their new Wallternatives line just recently launched and some of the SNAP 2014 conference attendees were asked to review the new products.
I selected a cute vintage bird cage design entitled “Flying The Coop” . In the Designer Decal section they have:
- Animals
- Decorative Graphic
- Floral
- Frames
- Monograms
- Nature
- Nursery & Kids
- Pattern Packs
- Quotes & Typography
I selected my design to come in Black but they offer 20 different colors.
My package arrived and I was excited to put it on the wall. I had the perfect place for it in my French Country Kitchen.

Isn’t it just adorable?
I opened my package and the first thing I noticed is how carefully and cheerfully it was wrapped. (Thank goodness because my mail lady left the package half off the porch over the weekend and I wasn’t home for three days.)
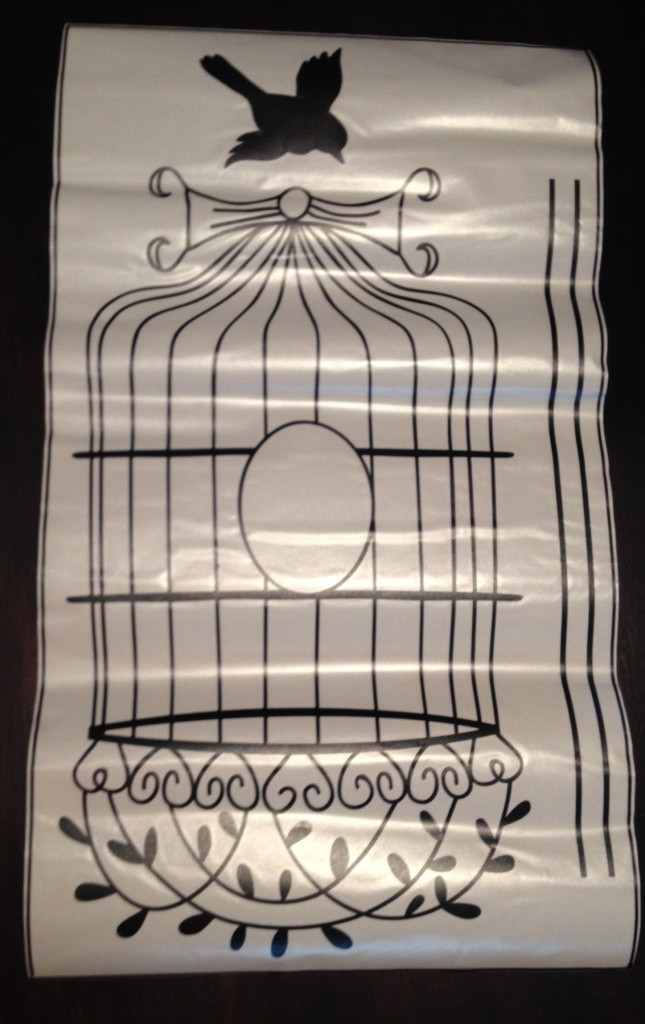
Second thing I noticed is that there were no instructions included. Never fear. I went to the trusty internet and looked on the Wallternatives website. It took me a bit to find the instructions but I did and I proceeded with step one.
Where the third thing I noticed was no Squeegee was included as the instructions stated but again, never fear I had a Bondo scraper that should work fine.
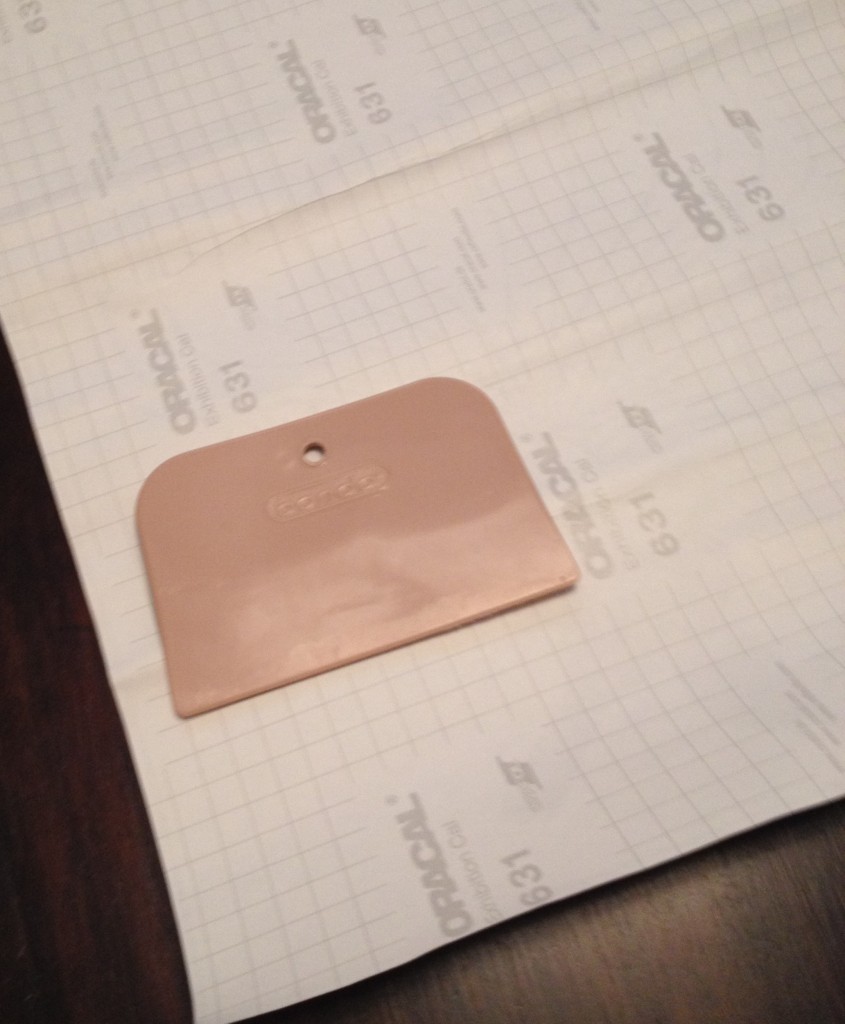
On the Website, Steps 1 & 2 state:
Unroll and Burnish
Lay your Designer Vinyl Decal on a smooth, hard surface such as a tabletop, wall, or floor. Use the Wallternatives™ Squeegee to burnish the Transfer Tape to the vinyl graphic by rubbing over it with a very hard pressure. Now, flip it over and repeat on the back side. This will adhere the Transfer Tape to the Vinyl Decal well so that the Backing Paper will remove easier.
AND it means BURNISH. I didn’t burnish enough the first time and had to return the decal to the table and burnish again.
I followed the Hinge Method and set my decal on the wall (for the second time) and noticed that I needed to cut out the bird cage wires to complete my design correctly.
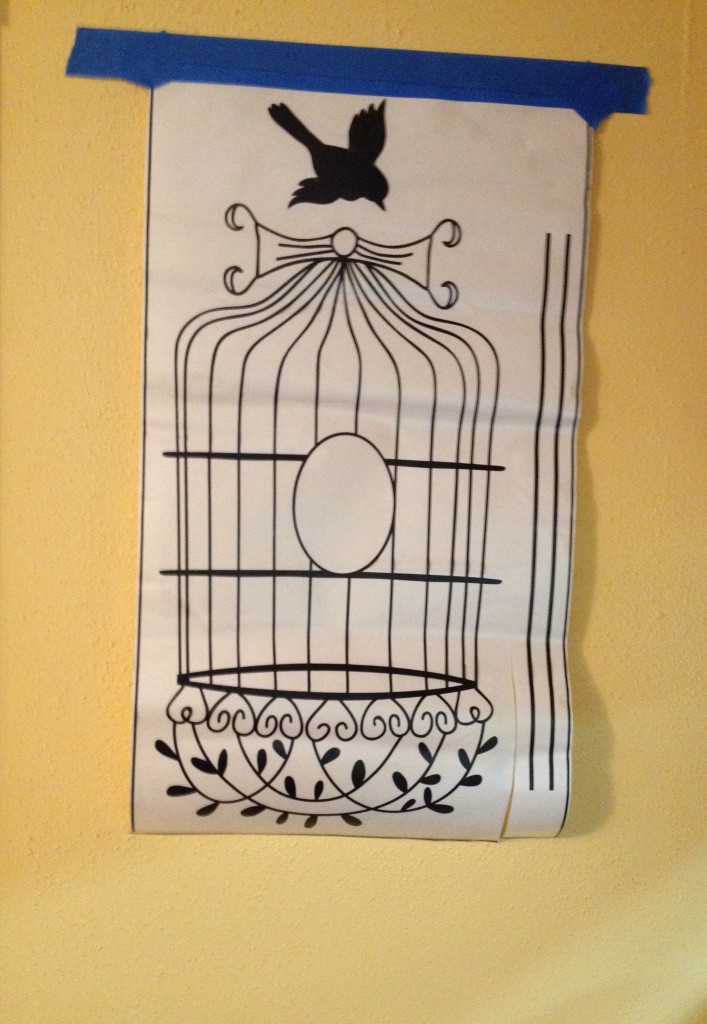
Now for the third time I hang it up and notice I needed to take the bird off.
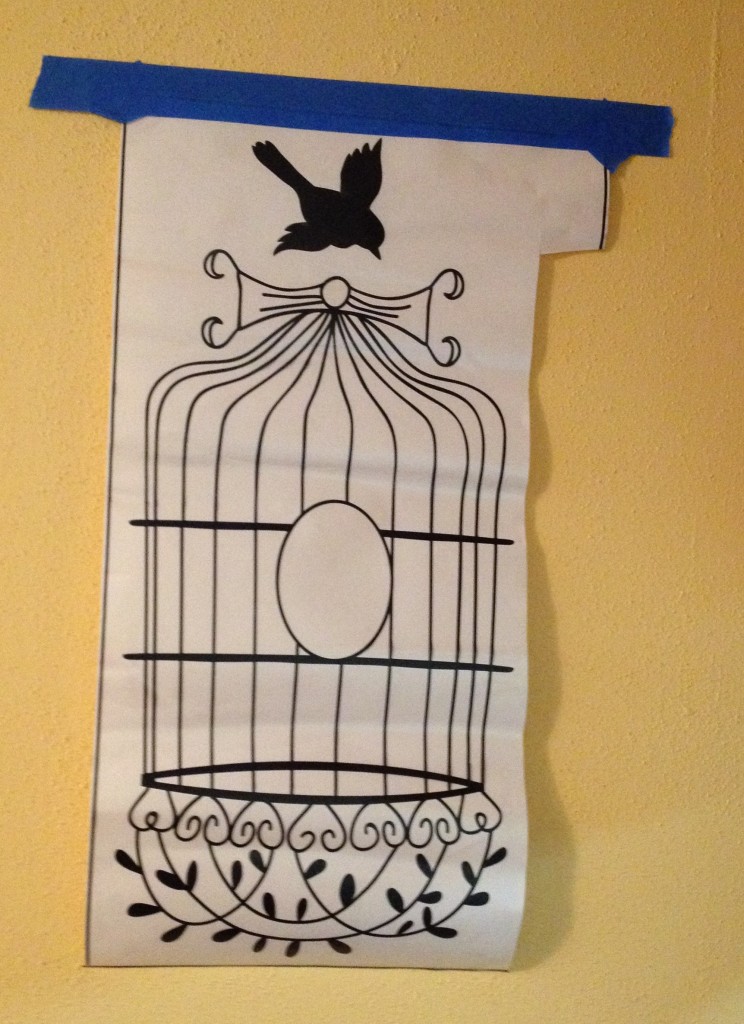
Okay – fourth time… And this time I am using the side hinge method.
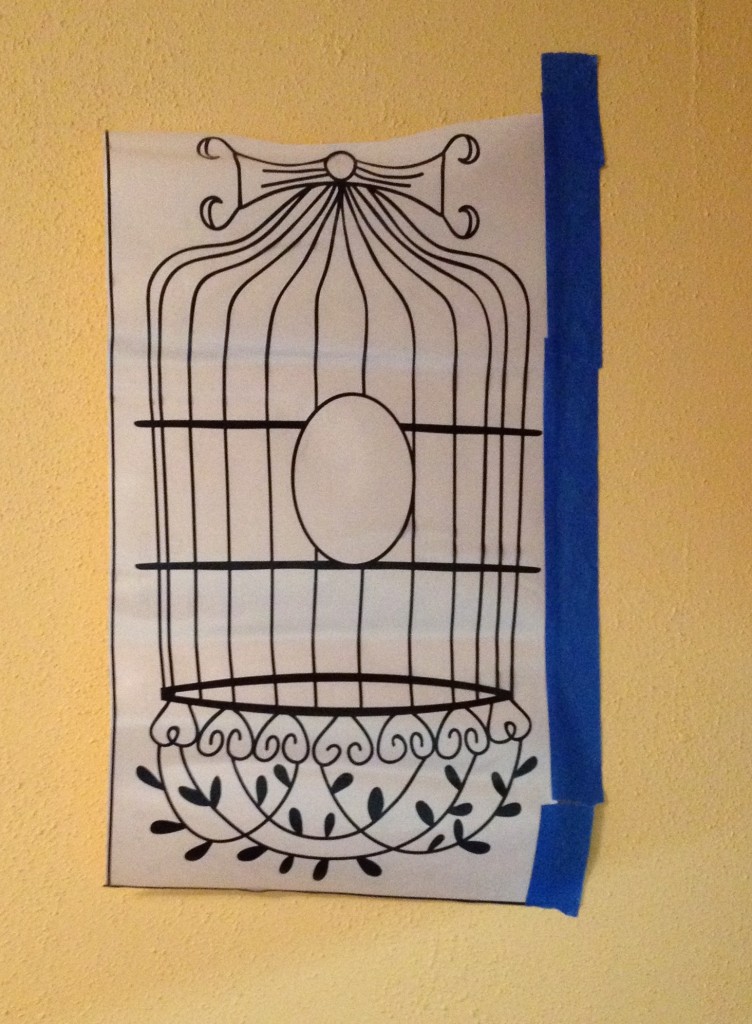
I am using the least textured wall in my house. This wall was wallpapered when we moved in and once we removed the wallpaper, we painted the wall with a very light texture to it. The decal does not work on this wall!! I burnished, I rubbed, I tried to take it directly on the decal to the wall. I was working up a sweat. I even got Dear Husband to lend a helping hand.
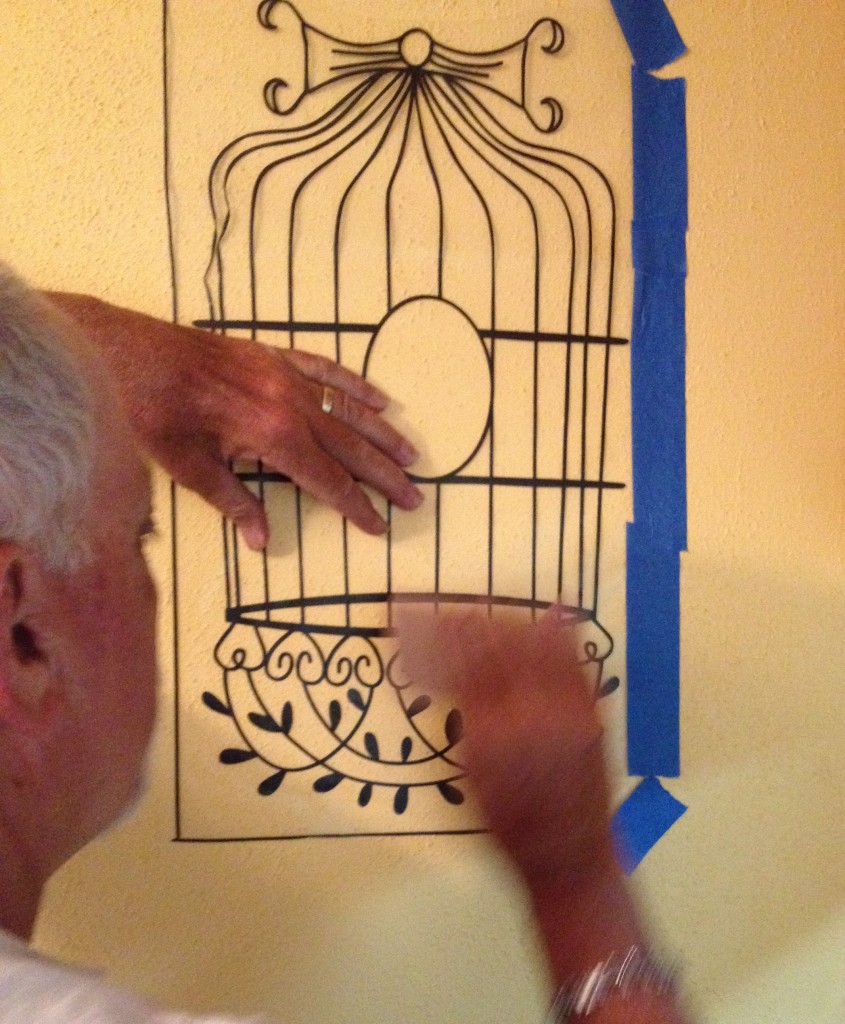
It probably would have worked if the design was a more solid image and not contain all the lines that my bird cage has. There wasn’t enough decal to grab a real bite into a lightly textured wall.
The designs are made to work to any clean, smooth, non-porous INTERIOR surface, such as painted walls, ceilings and doors, as well as metal, glass, tile, and plastic. The website also states:
Where NOT to Apply Designer Vinyl Decals
Our vinyl decals are cut from a low-tack, removable vinyl material that is NOT designed to stick to textured and/or porous surfaces. Do not attempt to apply Designer Vinyl Decals to raw wood, canvas or fabric, porous concrete, stucco or stone, as well as surfaces that are chalky, dusty, or damp. Even a small amount of moisture on the surface will prevent the adhesive from sticking.
If you have lightly textured walls, the vinyl material MAY adhere, but we cannot guarantee that.
I can attest to the lightly textured walls. I loved my design and wanted to use it and since I had already pulled the backing off I had to use it quickly. I could think of nowhere to put the design since almost all my walls are painted and textured.
Never fear – I pulled out a piece of foam board and the decal went on like magic!!! I was very impressed with the decal and loved the look on the foam board. I will be adding to the decaled foam board to still have an adorable piece of wall art.
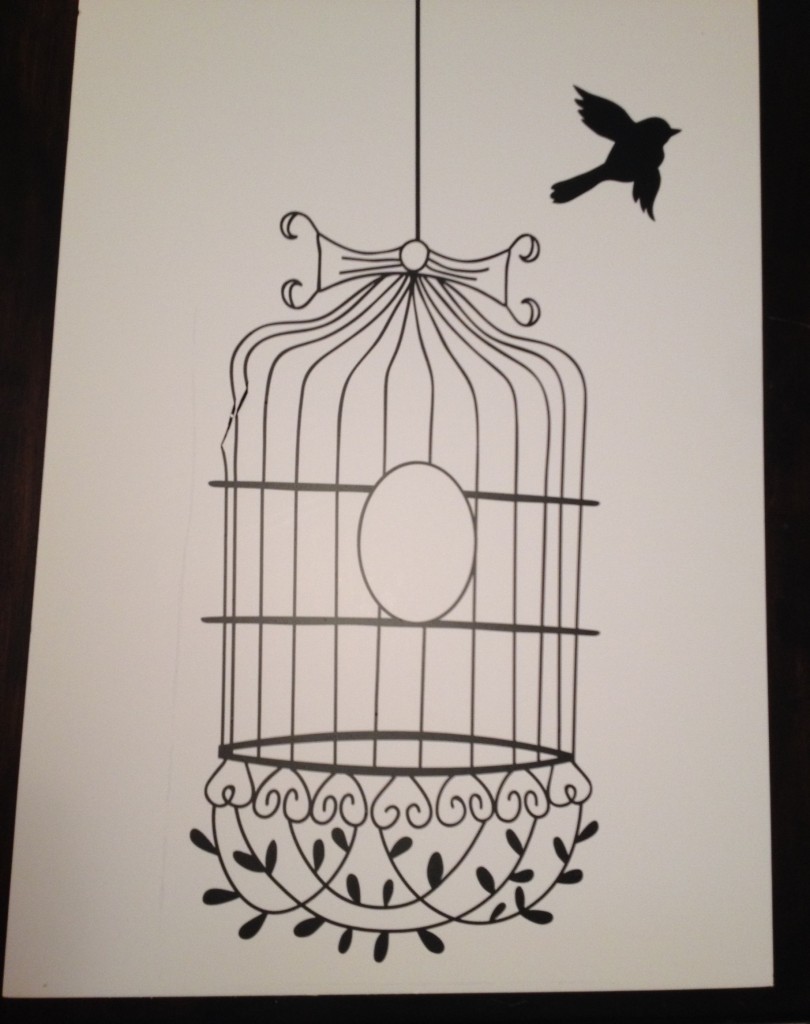 Notice bent cage wires – we’re telling folks that is where the cat tried to get into the cage. It actually happened when we were trying to apply the decal on the wall. This was our fault for trying to adhere the decal to the lightly textured wall.
Thoughts After the Fact: The small bumps of the texture on the wall, the thin lines of the pattern, and the hard scraper were all working together to create failure. I would like to try this decal again and on the same lightly textured wall and instead of using the hard scraper I am going to use a scrubby sponge. The hard scraper was just hitting the tops of the bumps and possibly the sponge will allow the decal to adhere to the tops of the bumps as well as around them. Wouldn’t hurt to try????
Recommendations to WALLTERNATIVES:
- Make sure all products have instructions mailed with the product.
- I would ensure that the “textured wall” information was prominently displayed when ordering to avoid unhappy customers. Most people have painted and textured walls in their homes where they will be wanting to use the beautiful decals.
- On the website:
- Instructions need to be easier to locate
- Wall preparation instructions need to be placed before installation instructions.
My overall impression of the WALLTERNATIVES:
- Love all the designs
- Love the ease of the transfer of the decal (when applied to appropriate surface)
- Recommend to a friend? YES!!
- Would I buy another one? YES!!
Check out the new WALLTERNATIVES at www.wallternatives.com. I’m going to put one that is little boy bathroom appropriate on the huge mirror in my grandson’s bathroom. Hmmm – I’m thinking maybe

or
Please Share




Thanks for all your tips-that’s a cute design!